How to Use a Cast Iron Dutch Oven for No-Knead Bread: Beginner-Friendly Tips
By Lodgecastiron | Published: 2026-06-24
Category: How-to Guides
Learn how to bake perfect no-knead bread in a cast iron Dutch oven with beginner-friendly tips. Discover the best techniques, tools, and recipes for crusty, artisan loaves at home.
If you’ve ever dreamed of pulling a golden, crusty artisan loaf from your own oven, no-knead bread is the perfect place to start. And the secret weapon that turns a simple dough into bakery-worthy bread? A cast iron Dutch oven. This classic piece of cookware creates the steamy, high-heat environment that gives no-knead bread its signature crackling crust and airy crumb. In this guide, we’ll walk you through everything a beginner needs to know—from choosing your Dutch oven to mastering the bake—so you can enjoy fresh, homemade bread with minimal effort.
Why a Cast Iron Dutch Oven Is Ideal for No-Knead Bread
No-knead bread relies on a long, slow fermentation to develop gluten and flavor, but the real magic happens during baking. A Dutch oven traps steam released from the dough, mimicking the conditions of a professional steam-injected oven. This steam keeps the crust soft and elastic during the first part of baking, allowing the bread to expand fully (oven spring). Then, as the steam dissipates, the crust crisps up into that irresistible golden shell.
Cast iron’s superior heat retention and even distribution ensure your bread bakes uniformly, without hot spots that can scorch the bottom. Whether you’re using a seasoned or enameled model, a cast iron Dutch oven is the most reliable tool for achieving consistent, professional results at home.
Choosing the Right Dutch Oven for Bread Baking
Not all Dutch ovens are created equal when it comes to bread. Here’s what to look for:
- Size: A 5–7 quart Dutch oven works best for standard no-knead loaves (about 1–1.5 pounds of dough). Larger sizes can accommodate bigger batches or longer batards.
- Shape: Round Dutch ovens are classic for boules, while oval ones are great for elongated loaves. Both work equally well.
- Material: Seasoned cast iron is affordable and develops a natural non-stick patina over time. Enameled cast iron is easier to clean and won’t react with acidic doughs—but it’s also more expensive.
- Lid: A tight-fitting lid is essential to trap steam. Some models feature self-basting spikes on the lid, which can help distribute moisture evenly.
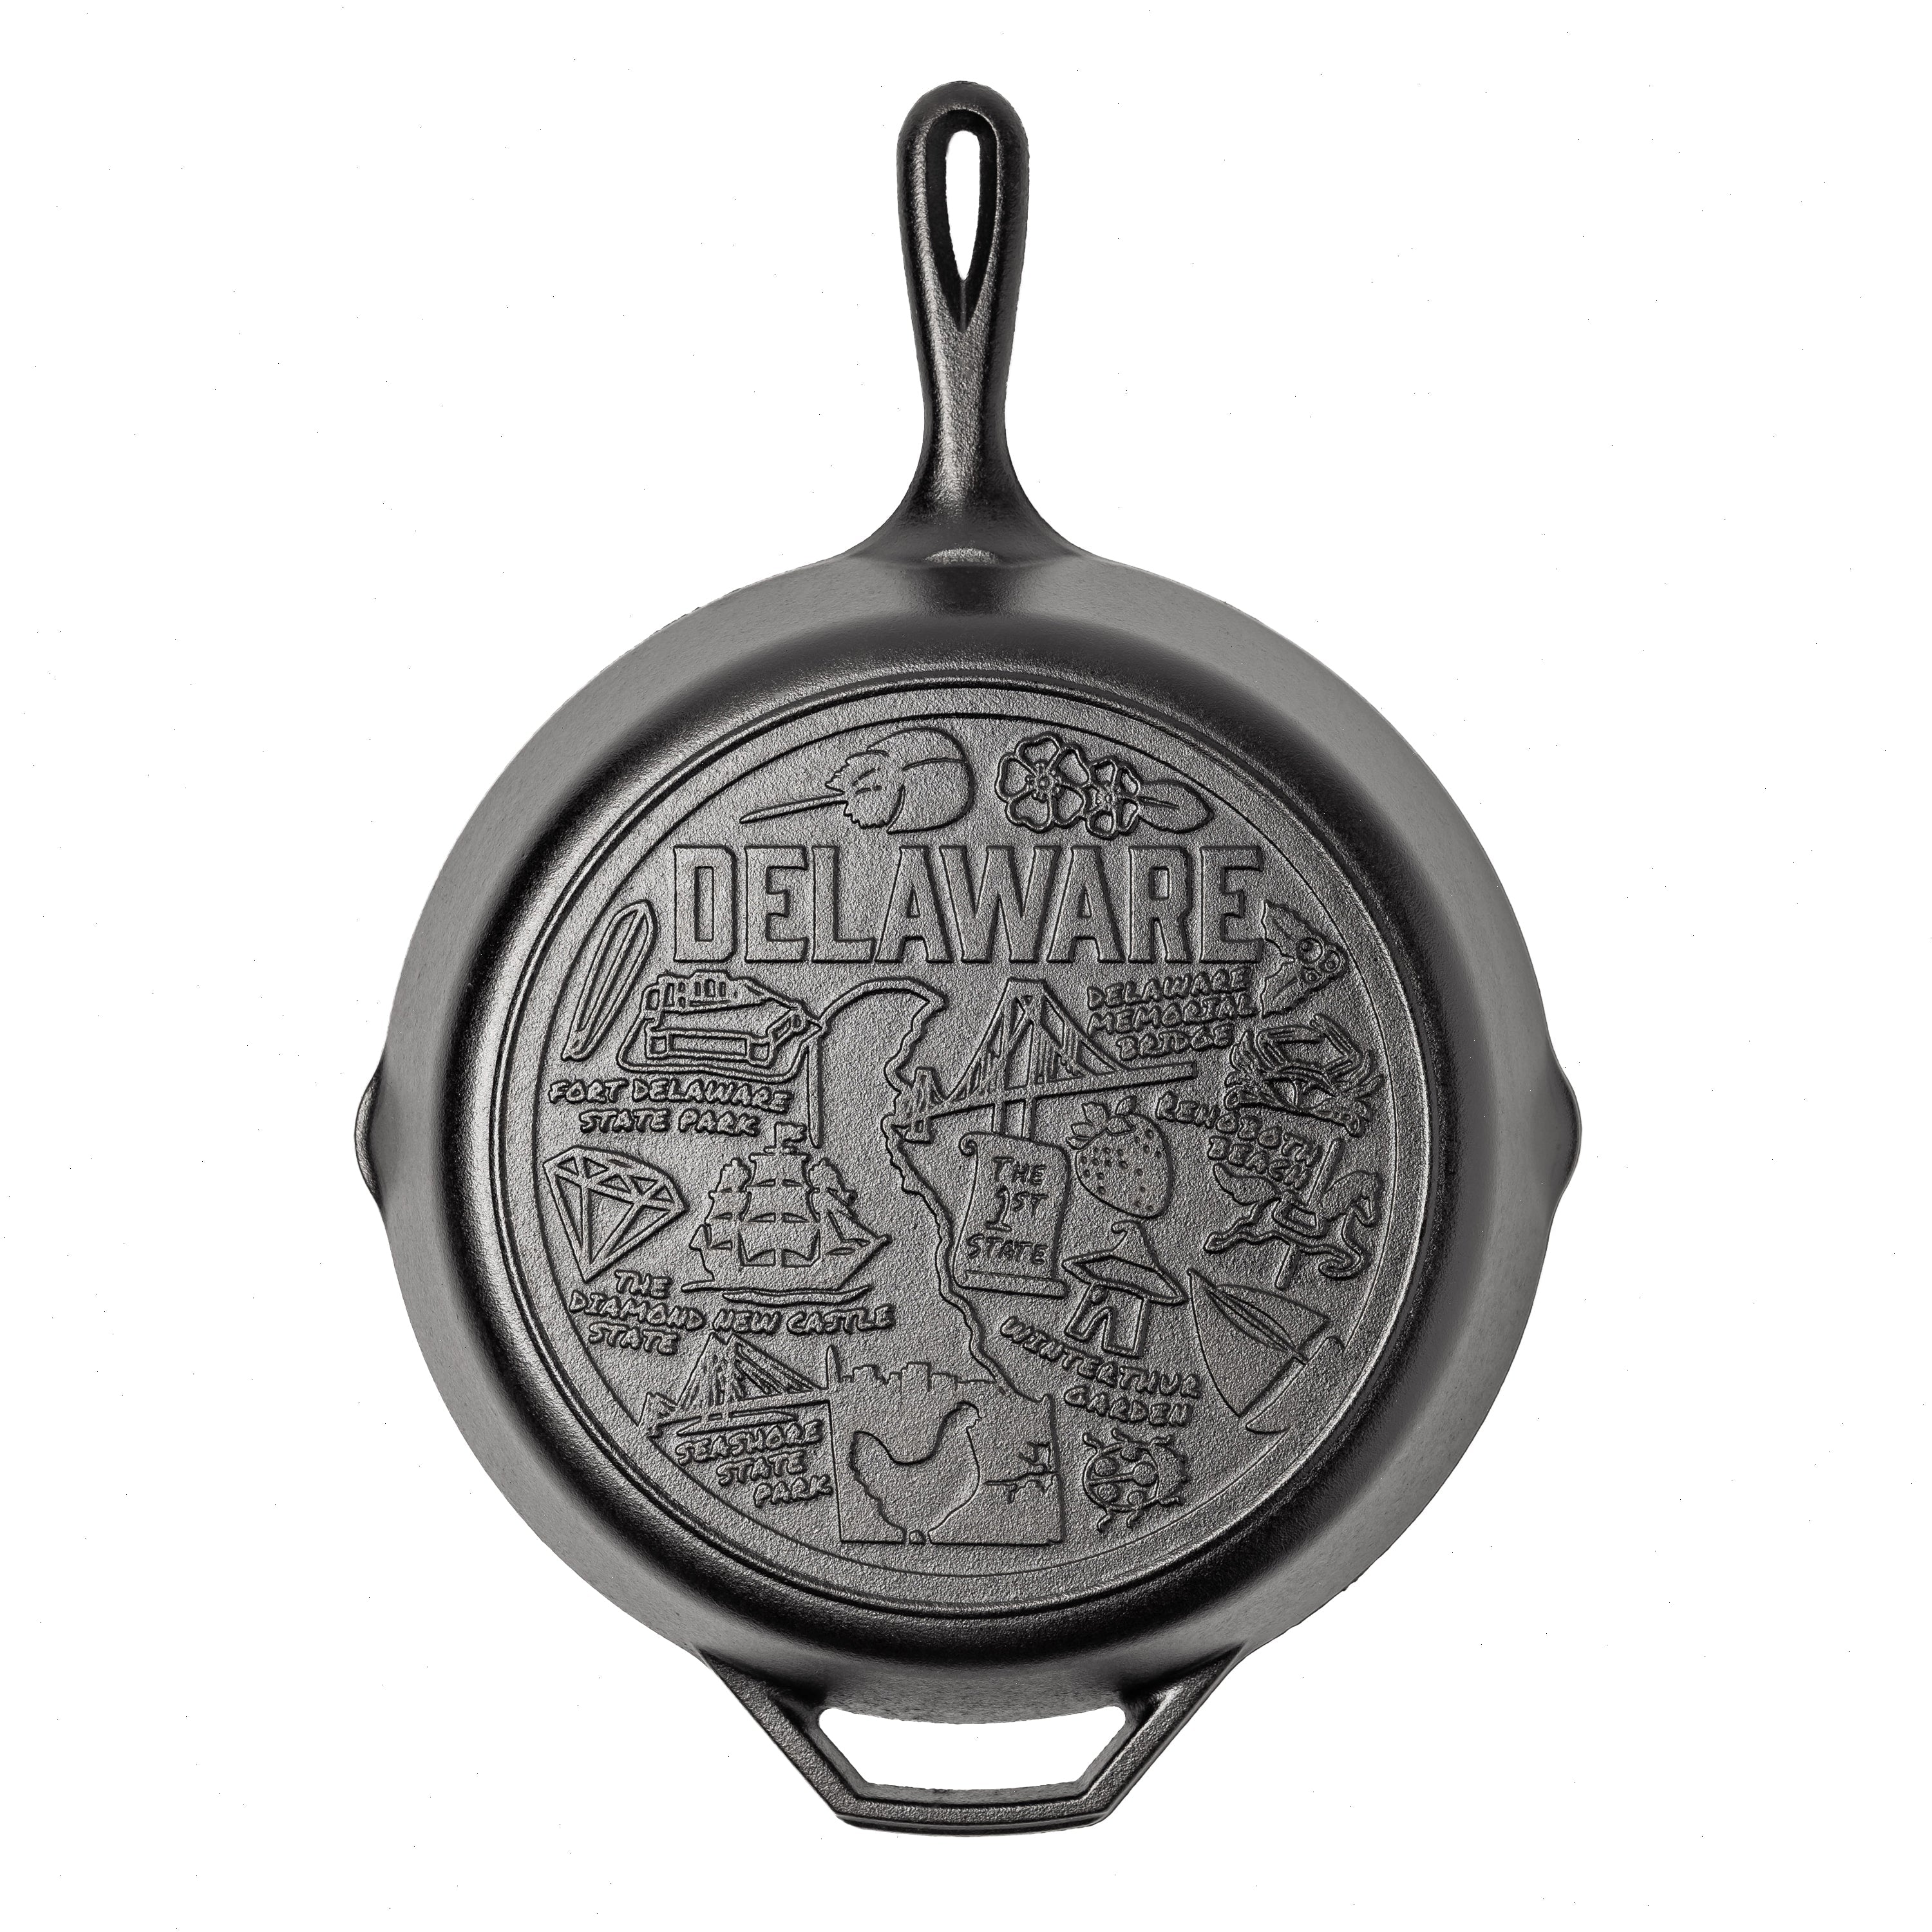
For beginners, we recommend the American Road Trip: 12 Inch Seasoned Cast Iron Skillet, Delaware as an alternative if you don’t have a Dutch oven yet—though a dedicated Dutch oven is still best for bread. If you’re starting from scratch, a classic Lodge 6-quart seasoned cast iron Dutch oven is a fantastic, budget-friendly choice.

Essential Tools and Accessories
Beyond your Dutch oven, a few simple tools will make the process smoother:
- Parchment paper: Prevents sticking and makes transferring the dough into the hot pot a breeze.
- Bread lame or sharp knife: For scoring the dough before baking—this controls where the bread expands.
- Digital scale: Weighing ingredients ensures consistent results (1 cup of flour can vary by 20–30 grams).
- Instant-read thermometer: The internal temperature of fully baked bread should reach 200–210°F (93–99°C).
- Oven mitts and handle holder: Cast iron gets extremely hot. A Max Temp Handle Holder provides a safe, comfortable grip when moving the hot pot.
Step-by-Step Beginner-Friendly No-Knead Bread Recipe
This recipe is adapted from the famous Jim Lahey method and requires only 4 ingredients. Total active time is about 10 minutes—the rest is just waiting.
Ingredients
- 3 cups (400 g) bread flour (or all-purpose)
- 1 ½ teaspoons (8 g) salt
- ¼ teaspoon (1 g) active dry yeast
- 1 ½ cups (350 ml) lukewarm water
Instructions
- Mix the dough: In a large bowl, combine flour, salt, and yeast. Add water and stir with a wooden spoon until a shaggy, sticky dough forms. Cover the bowl with plastic wrap and let rest at room temperature for 12–18 hours (overnight works perfectly).
- Shape the dough: After fermentation, the dough should be bubbly and doubled in size. Lightly flour a work surface and turn the dough out. Fold the edges toward the center a few times to form a rough ball. Place the dough seam-side down on a piece of parchment paper. Cover with a clean kitchen towel and let rest for 2 hours.
- Preheat the Dutch oven: About 30 minutes before the second rest ends, place your Dutch oven (with lid) in the oven and preheat to 450°F (230°C).
- Score and bake: Carefully remove the hot Dutch oven and lift the parchment with the dough into the pot. Score the top with a sharp knife or lame (a deep slash about ½ inch). Cover and bake for 30 minutes. Then remove the lid and bake for another 15–20 minutes, until the crust is deep golden brown.
- Cool completely: Transfer the bread to a wire rack and let cool at least 1 hour before slicing. This step is essential—cutting too early will result in a gummy interior.
Tips for Perfect No-Knead Bread Every Time
1. Use a Kitchen Scale for Precision
Flour is notoriously inconsistent when measured by volume. A digital scale ensures your hydration level is spot-on, which directly affects the crumb and crust. For this recipe, aim for 70–75% hydration (400 g flour to 280–300 g water).
2. Don’t Skip the Preheat
Preheating the Dutch oven is non-negotiable. A hot pot creates instant steam when the dough hits it, giving you maximum oven spring. If you place the dough into a cold pot, you’ll lose that burst of steam and end up with a denser loaf.
3. Experiment with Flour Blends
Try substituting 50–100 g of bread flour with whole wheat, rye, or spelt for deeper flavor. Keep in mind that whole-grain flours absorb more water, so you may need to add an extra tablespoon or two.
4. Master the Steam
If your Dutch oven lid isn’t perfectly tight, you can add a few ice cubes to the pot just before closing the lid. The ice melts and creates additional steam. Alternatively, mist the inside of the lid with water from a spray bottle.
5. Watch the Bottom Crust
Some bakers find that the bottom of the bread gets too dark. To prevent this, place a baking sheet on the rack below the Dutch oven to deflect some heat, or sprinkle a handful of cornmeal or semolina under the dough before baking.
Troubleshooting Common Issues
| Problem | Likely Cause | Solution |
|---|---|---|
| Bread is flat or doesn’t rise | Under-proofed or yeast is dead | Extend fermentation time; check yeast freshness |
| Crust is pale and soft | Not enough steam or too low oven temp | Preheat fully; add ice cubes or spray water |
| Bottom is burnt | Oven too hot or pot too close to element | Use middle rack; place a baking sheet underneath |
| Dough sticks to pot | Not enough flour or parchment | Always use parchment paper for easy release |
Enhancing Your Bread with Cast Iron Accessories
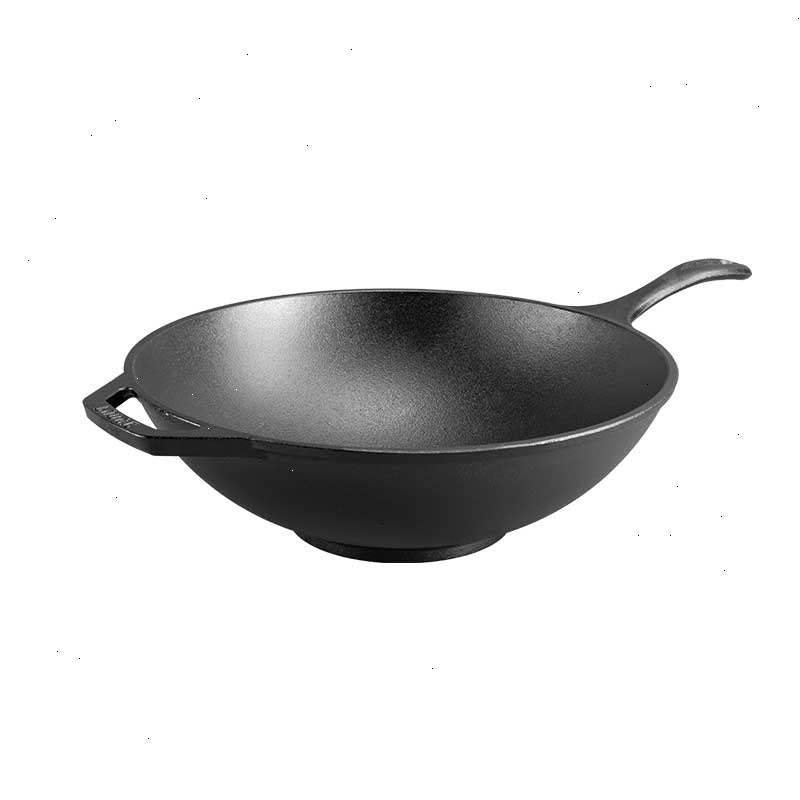
Once you’ve mastered the basic loaf, you can expand your baking repertoire with specialized cast iron tools. A Chef Collection Square Grill Pan isn’t just for steaks—it can also be used to toast spices or warm tortillas, adding a smoky dimension to your bread accompaniments. For those who love experimenting with flavored breads, consider incorporating a Lodge Sear Blends Variety Pack into your dough for a subtle, savory twist.
Storing and Reheating Your Homemade Bread
No-knead bread stays fresh at room temperature for 2–3 days when stored in a paper bag or wrapped in a clean kitchen towel (plastic bags will soften the crust). For longer storage, slice and freeze the bread—then reheat slices directly in a toaster or in a skillet. To revive a day-old loaf, mist it with water and warm it in a 350°F oven for 5–10 minutes.
Why This Method Works for Beginners
No-knead bread is the ultimate low-stress baking project. There’s no kneading, no complicated shaping, and no need for a stand mixer. The long fermentation builds flavor and structure passively, and the cast iron Dutch oven does the heavy lifting during baking. It’s a technique that builds confidence—you’ll feel like a professional baker after your first successful loaf.
With the right tools and a little patience, you can enjoy fresh, crusty bread any day of the week. The aroma alone is worth the wait.
Ready to start baking? Explore the Chef Collection Square Grill Pan or other cast iron essentials to elevate your bread-making game. Happy baking!