How to Cook with a Cast Iron Camp Dutch Oven: Coals, Temperatures, and Recipes
By Lodgecastiron | Published: 2026-06-25
Category: How-to Guides
Master camp Dutch oven cooking with our guide to coals, temperature charts, and easy recipes. Learn how to use a Lodge camp Dutch oven outdoors for perfect meals every time.
Cooking over an open fire is one of the great joys of camping, and nothing pairs better with the outdoors than a cast iron camp Dutch oven. Whether you're simmering stews, baking bread, or roasting a whole chicken, a camp Dutch oven lets you bring the heat—literally—wherever your adventure takes you. In this guide, we'll cover everything you need to know about camp Dutch oven cooking, including coal placement, temperature control, and a few delicious recipes to try on your next trip.
Why a Cast Iron Camp Dutch Oven?
A camp Dutch oven is a heavy-duty, seasoned cast iron pot with a tight-fitting lid and a flat bottom designed to sit directly on coals or a campfire grate. Unlike standard Dutch ovens, camp versions often have a flanged lid to hold hot coals on top, allowing for even heat distribution from both above and below. This design makes them incredibly versatile—you can use them for outdoor cast iron cooking on a fire, over a camp stove, or even in a conventional oven.
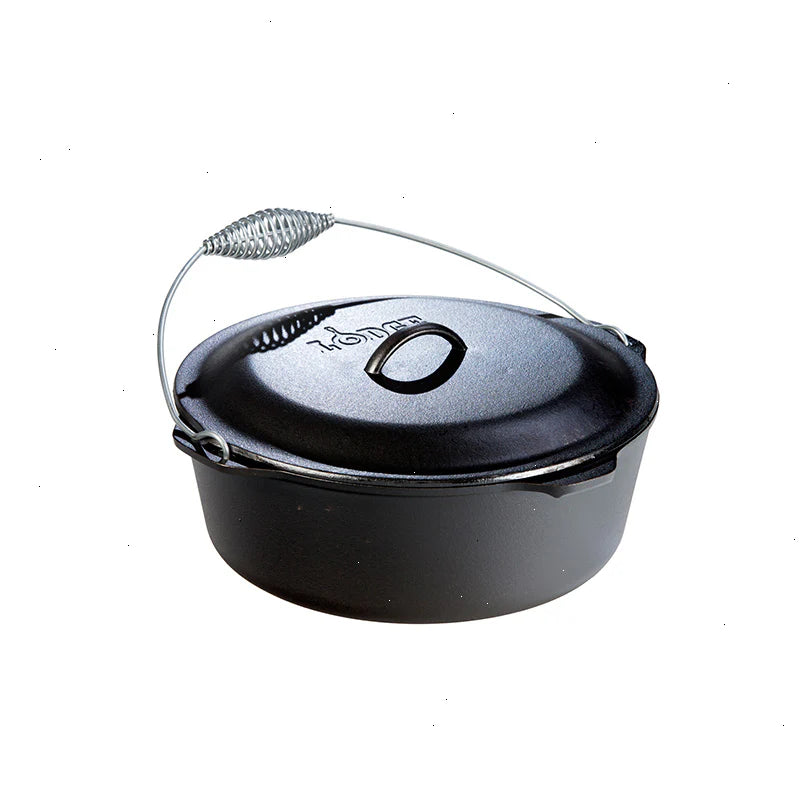
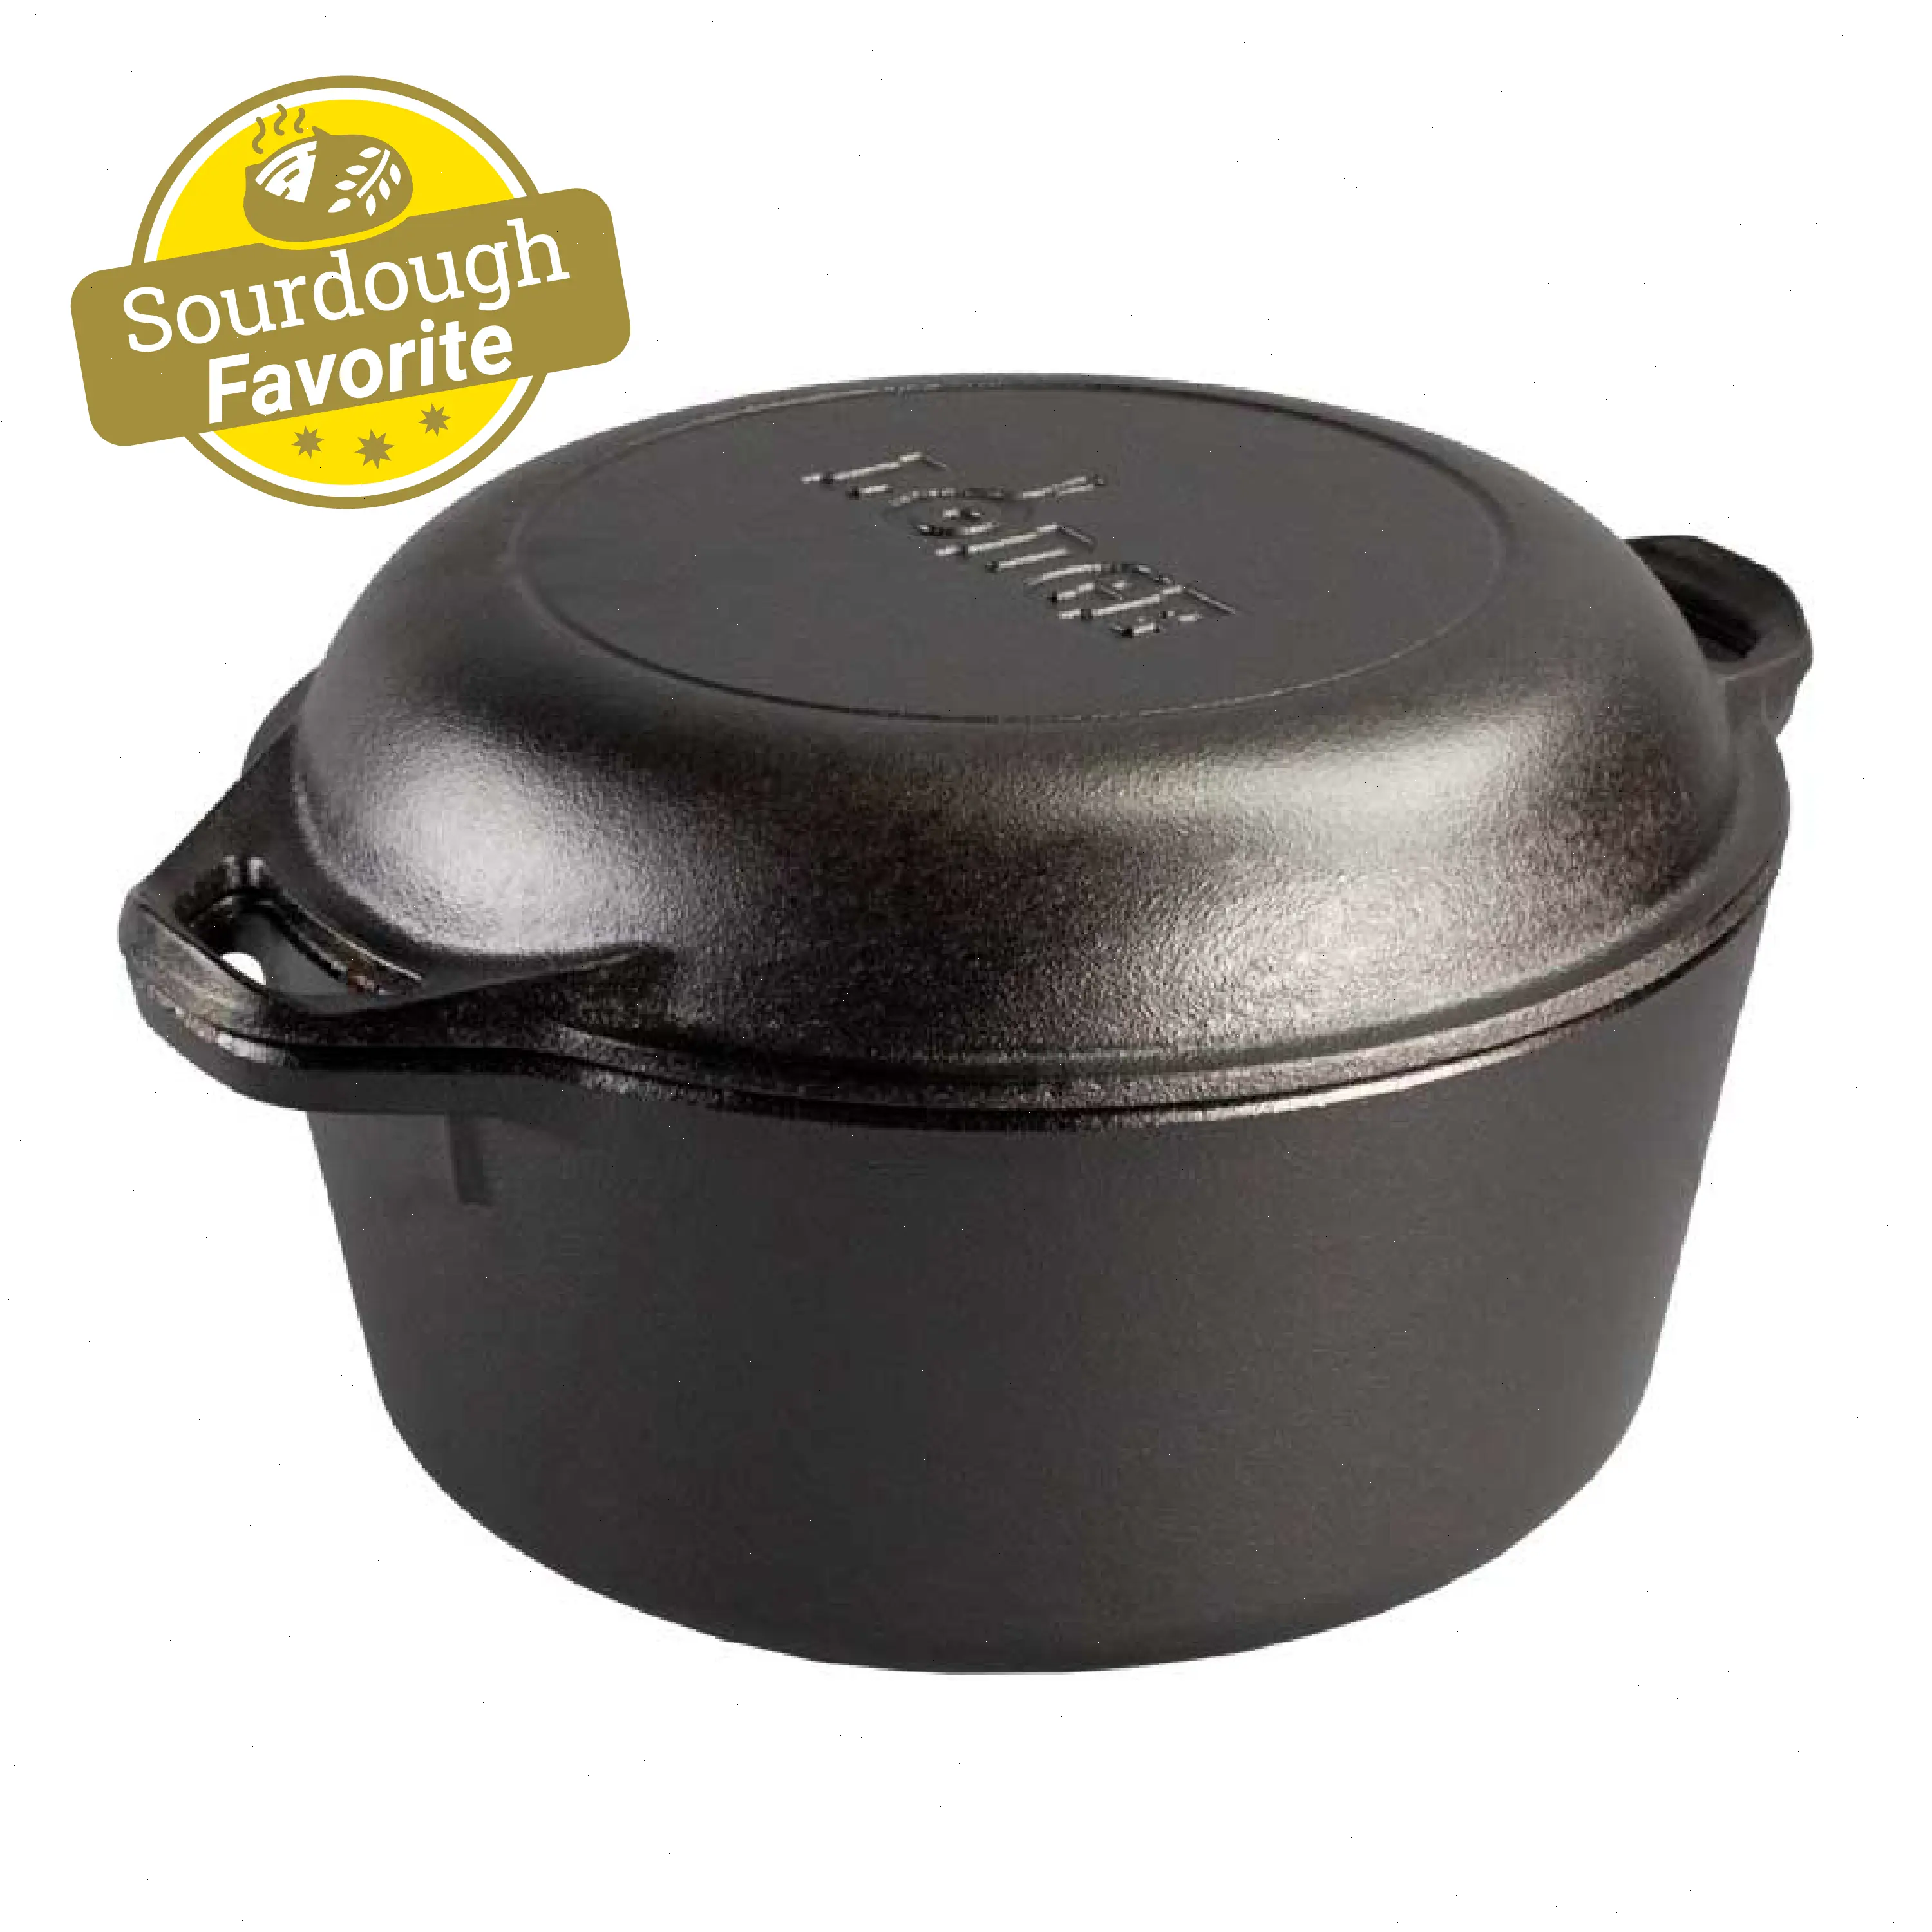
One highly recommended option is the 5 Quart Cast Iron Double Dutch Oven. Its dual-purpose lid doubles as a skillet, giving you extra cooking flexibility at the campsite. Seasoned cast iron provides natural non-stick properties and superior heat retention, perfect for long, slow cooking over coals.

Understanding Coals: The Key to Temperature Control
Mastering camp oven coals is the most important skill in camp Dutch oven cooking. Unlike a kitchen oven where you set a dial, here you control heat by the number of briquettes you use and where you place them. Here’s a simple breakdown:
Coal Placement Basics
- Bottom heat only: For simmering, boiling, or frying—place all coals underneath the oven.
- Top heat only: For browning cheese or making a crust—place all coals on the lid. Use a small trivet to lift the oven slightly if needed.
- Even heat (baking/roasting): Place coals both underneath and on top. A general rule is ⅓ of the coals underneath and ⅔ on top for even baking.
Camp Oven Temperature Chart
Use this handy camp oven temperature chart as a starting point. The number of briquettes is based on a 12-inch Dutch oven (roughly 5-quart capacity). Adjust for larger or smaller ovens.
| Desired Temperature | Total Briquettes | Bottom Coals | Top Coals |
|---|---|---|---|
| 325°F (163°C) | 17 | 6 | 11 |
| 350°F (177°C) | 19 | 7 | 12 |
| 375°F (190°C) | 21 | 8 | 13 |
| 400°F (204°C) | 23 | 9 | 14 |
Remember that wind, altitude, and ambient temperature affect coal heat. If the weather is cool, you may need a few extra briquettes. Always allow the coals to ash over (about 15-20 minutes) before placing them around your oven.
Essential Tools for Camp Dutch Oven Cooking
To make your outdoor cast iron cooking easier and safer, consider these accessories:
- Lid lifter: A sturdy hook or tool to lift the heavy, hot lid without burning yourself.
- Chimney starter: For lighting coals quickly and evenly.
- Charcoal tongs: To safely arrange hot briquettes.
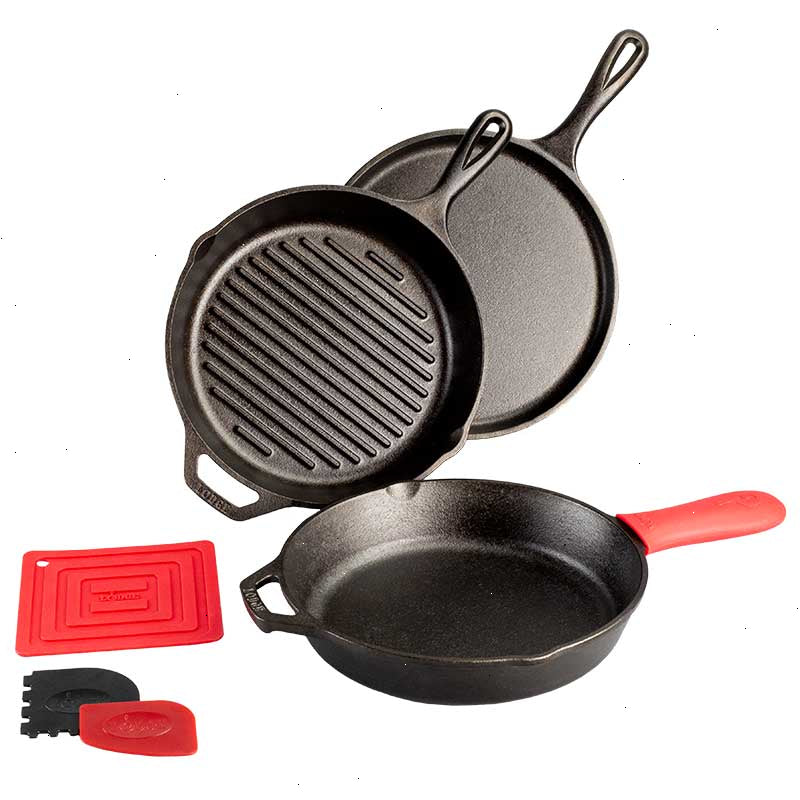
- Heat-resistant gloves: The Silicone and Fabric Potholder provides excellent grip and protection when handling hot handles.
- Trivet or grill grate: To elevate the oven if cooking directly on ashes.
Easy Camp Dutch Oven Recipes
Classic Campfire Chili
This one-pot wonder is perfect for feeding a hungry crew. Sauté onions, garlic, and ground beef directly in the Dutch oven over a bed of coals. Add canned tomatoes, kidney beans, chili powder, cumin, and a pinch of salt. Cover with the lid, arrange coals (see chart for 350°F), and let simmer for 45 minutes. Stir occasionally. Serve with cornbread baked in the same oven—just clean it out and use a separate recipe.
Camp Dutch Oven Bread
Yes, you can bake fresh bread at the campsite! The 5 Quart Cast Iron Double Dutch Oven works beautifully for no-knead bread. Mix flour, yeast, salt, and water, let it rise, then place the dough into the preheated Dutch oven. Cover and bake at 375°F for 30 minutes with coals on top and bottom. Remove the lid for the last 10 minutes to brown the crust.
Foil Packet Vegetables
While your main dish cooks, wrap chopped potatoes, carrots, and onions in aluminum foil with olive oil and herbs. Place the packets directly on the coals around the Dutch oven for 20-30 minutes. They'll steam and roast to perfection.
Tips for Success
- Pre-season your oven: Even though Lodge camp Dutch ovens come pre-seasoned, a thin coat of oil before each use helps maintain the seasoning.
- Avoid acidic foods for long cooks: Tomato-based sauces can react with raw cast iron over many hours. A short simmer is fine.
- Use the lid as a reflector: If you're baking, the lid's dimples help return moisture and heat to the food, creating a golden crust.
- Rotate the oven and lid occasionally: Every 15 minutes, rotate the entire oven a quarter turn and the lid in the opposite direction to prevent hot spots.
- Clean while warm: After eating, scrape out food residue, rinse with hot water (no soap), and dry thoroughly. Apply a light oil before storing.
Common Mistakes to Avoid
- Too many coals: More is not better. Over-heating can burn food and damage seasoning. Start with fewer coals and add if needed.
- Ignoring wind: Wind cools the oven unevenly. Use a windscreen or dig a small fire pit to shield the coals.
- Not preheating the oven: For baking, preheat the empty Dutch oven with coals for 10 minutes before adding dough or batter.
- Lifting the lid too often: Each time you lift the lid, heat escapes and you lose cooking time. Peek only when necessary.
Why Lodge Cast Iron Is Perfect for Camping
Lodge has been crafting cast iron cookware since 1896, and their camp Dutch ovens are built for rugged outdoor use. The thick walls distribute heat evenly, and the seasoned surface improves with every use. Plus, the versatility of a Lodge camp Dutch oven recipe means you can go from stews to pies to bread without needing multiple pots. The Seasoned Cast Iron Sugar Skull Skillet with Deluxe Handle Holder is another fun piece to bring along for small sides or individual desserts.
Final Thoughts
Camp Dutch oven cooking is a rewarding skill that transforms simple campsite meals into memorable feasts. With a little practice, you'll be able to control coals, read temperatures, and whip up hearty dishes that impress friends and family. Start with our temperature chart, try a couple of recipes, and soon you'll be creating your own camp Dutch oven cooking masterpieces.
If you're ready to take your outdoor cooking to the next level, explore the 5 Quart Cast Iron Double Dutch Oven and see how it can become your go-to camp kitchen companion. Happy camping and happy cooking!