The Science of Cast Iron Seasoning: How Oils and Heat Create a Non-Stick Surface
By Lodgecastiron | Published: 2026-06-11
Category: Industry News
Discover the chemistry behind cast iron seasoning: how polymerization transforms oil into a durable, non-stick layer. Learn the best oils, oven techniques, and tips for perfect seasoning.
If you’ve ever admired the glossy black finish of a well-used cast iron skillet, you’ve witnessed the science of seasoning in action. Seasoning isn’t just a coating—it’s a chemical transformation that turns liquid oil into a hard, non-stick polymer bonded to the iron. Understanding this process helps you choose the right oils, apply heat correctly, and maintain a surface that improves with every meal. In this article, we’ll break down the chemistry of polymerization, compare the best oils for seasoning, and share step-by-step methods to achieve that coveted non-stick finish.
What Is Cast Iron Seasoning?
Seasoning is a layer of polymerized oil that bonds to the cast iron’s porous surface. Unlike modern non-stick coatings, seasoning is organic, food-safe, and gets better over time. The process involves heating oil to its smoke point, which triggers a chemical reaction called polymerization. This reaction links oil molecules into long chains that form a hard, hydrophobic film. The result? A surface that repels food and resists rust.
Every time you cook with oil or fat, you’re adding microscopic layers to the seasoning. That’s why a well-used skillet, like the Blacklock Lightweight Skillet, becomes increasingly non-stick and flavorful over years of use.
The Chemistry of Polymerization
Polymerization is the key to seasoning. When you heat oil above its smoke point, the fatty acid chains break down and reorganize into a three-dimensional network. This process is similar to how linseed oil hardens into a protective varnish on wood. For cast iron, the result is a durable, bonded layer that won’t wash away.
Different oils polymerize at different rates. Oils high in polyunsaturated fats—like flaxseed or walnut oil—polymerize quickly because they have more double bonds available for cross-linking. Monounsaturated oils, such as canola or grapeseed, create a moderate bond. Saturated fats (e.g., coconut oil) polymerize slowly but can add flexibility.
Why Smoke Point Matters
The smoke point is the temperature at which oil starts to break down into smoke and harmful compounds. For seasoning, you want to heat the oil just past its smoke point to trigger polymerization without burning it completely. If the oil burns, it leaves a sticky, brittle layer that flakes off. If you don’t heat it enough, the oil remains liquid and won’t bond.
| Oil Type | Smoke Point (°F) | Polymerization Quality |
|---|---|---|
| Flaxseed (Linseed) Oil | 225 | Excellent—hard, brittle finish |
| Grapeseed Oil | 420 | Good—durable and flexible |
| Canola Oil | 400 | Good—balanced for everyday use |
| Vegetable Oil | 400 | Adequate—commonly used |
| Coconut Oil | 350 | Moderate—soft layer |
| Butter or Lard | 350 | Low—adds flavor, not hardness |
Best Oils for Seasoning Cast Iron
Choosing the right oil depends on your goals. For a hard, glass-like finish, flaxseed oil is a top choice. However, it can be brittle if applied too thickly. Grapeseed and canola oils offer a good balance of durability and ease of use. Many home cooks prefer vegetable oil because it’s cheap and widely available.
If you’re seasoning a new pan, start with a high-smoke-point oil like grapeseed or canola. Avoid extra-virgin olive oil—its low smoke point (around 375°F) can lead to a sticky residue. For maintenance after cooking, a light wipe with oil is all you need.
For example, the Yellowstone 10.25 Inch Cast Iron Authentic Y Skillet comes pre-seasoned with vegetable oil, but you can enhance its non-stick properties by applying additional layers of flaxseed or grapeseed oil.
Step-by-Step: How to Season Cast Iron at Home
Follow these steps for a professional-quality seasoning layer:
- Clean the pan: Scrub with hot water and a stiff brush. Avoid soap—it can strip seasoning.
- Dry thoroughly: Place on low heat to evaporate all moisture. Rust is your enemy.
- Apply a thin layer of oil: Use a paper towel to rub a very thin coat over the entire pan—inside, outside, and handle. Buff off any excess; the layer should be almost invisible.
- Heat upside down in the oven: Place the pan upside down on the middle rack with a baking sheet on the lower rack to catch drips. Heat to 450°F (232°C) for one hour.
- Cool slowly: Turn off the oven and let the pan cool inside. This prevents thermal shock.
- Repeat: For best results, apply 3–5 coats. Each layer bonds to the previous one.
This method works for any seasoned cast iron piece, including skillets, griddles, and Dutch ovens. Remember, thin coats are essential—thick layers will flake off.
Common Seasoning Mistakes and How to Fix Them
Even experienced cooks make errors. Here are the most common pitfalls:
- Too much oil: Leaves sticky spots. Solution: Wipe off more oil before heating.
- Not enough heat: Oil stays liquid. Solution: Ensure oven reaches 450°F.
- Uneven heating Causes patchy seasoning. Solution: Use oven, not stovetop, for initial coats.
- Rust before seasoning: Iron can corrode if not dried immediately. Solution: Dry and oil promptly after washing.
If your seasoning is patchy, simply scrub with a chainmail scrubber, dry, and re-season. The pan will gradually develop a uniform finish.
How Seasoning Affects Cooking Performance
A well-seasoned pan provides a naturally non-stick surface that improves with use. The polymerized layer fills microscopic pores in the iron, creating a smooth, slick surface. This reduces the need for excessive oil and makes cleanup easier. Over time, seasoning also imparts subtle flavors from previous meals, especially when you cook fatty foods like bacon or steak.
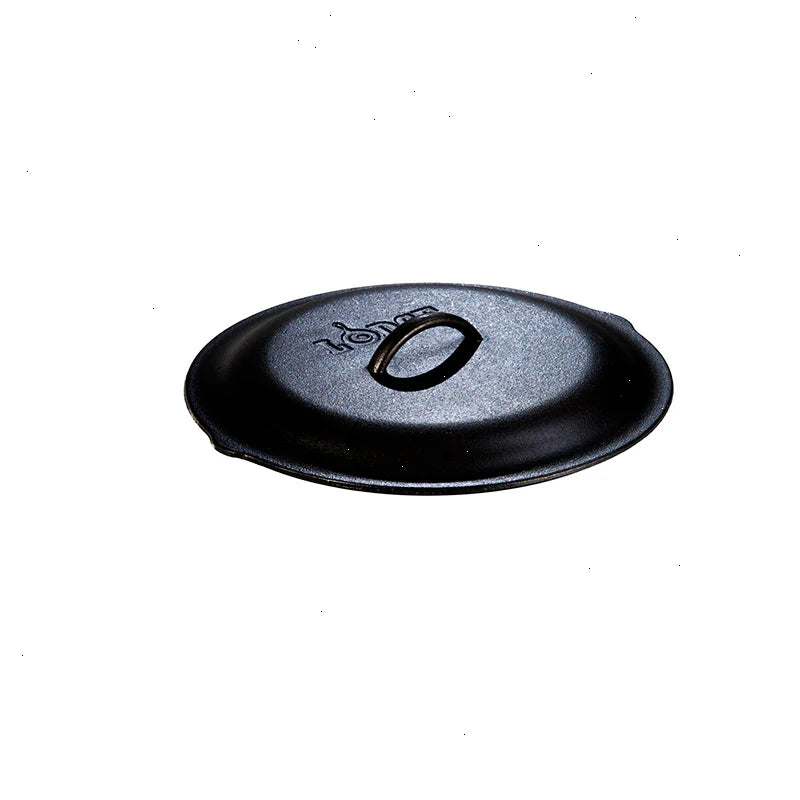
For everyday cooking, a seasoned skillet excels at searing, frying, and baking. The Seasoned Cast Iron Round Grill Press is a great tool to pair with your seasoned skillet—it helps press meats and sandwiches evenly, ensuring even browning and better crust formation.
Maintaining Your Seasoning Over the Long Term
To keep your seasoning intact, follow these care tips:
- Avoid acidic foods: Tomatoes, lemon juice, and vinegar can dissolve seasoning if cooked for long periods.
- Clean gently: Use a stiff brush or chainmail scrubber. Harsh detergents strip oil.
- Dry immediately: After washing, dry on low heat and apply a thin layer of oil.
- Store properly: Keep in a dry place. Add a paper towel inside to absorb moisture.
If your seasoning becomes damaged, don’t panic. Strip the pan with oven cleaner or a self-cleaning oven cycle, then start fresh. A few hours of work can restore it to like-new condition.
Seasoning for Different Types of Cast Iron
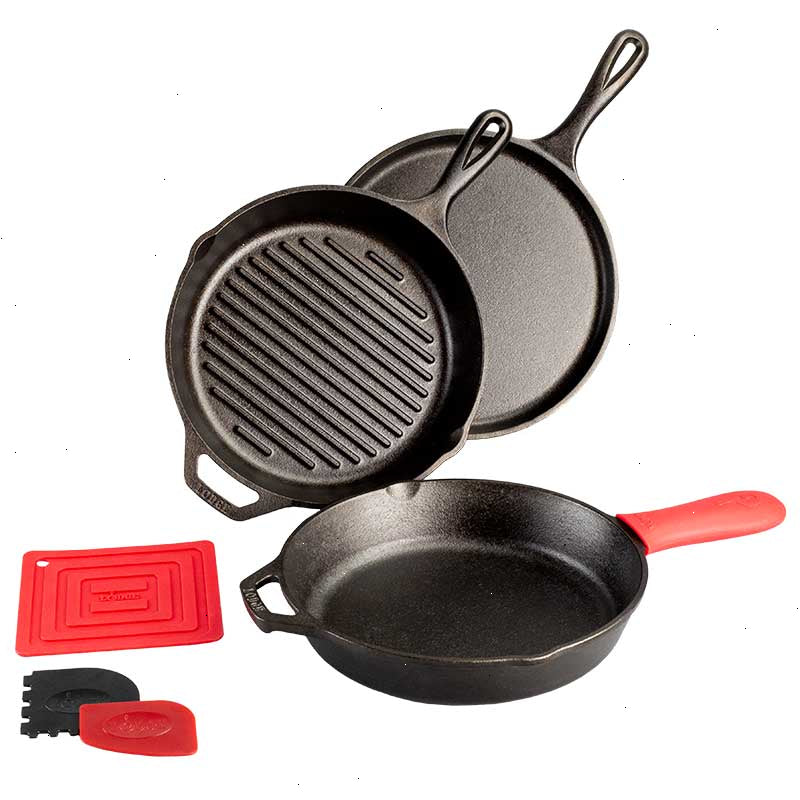
Not all cast iron is created equal. Pre-seasoned pans, like those from Lodge’s classic collection, come with a factory layer that’s ready to use. Lightweight skillets, such as the Blacklock Lightweight Skillet, have a thinner pre-seasoning that may need extra coats for optimal non-stick performance. Enameled cast iron does not require seasoning—the enamel coating provides a non-stick surface naturally. However, seasoned cast iron offers superior heat retention and searing ability.
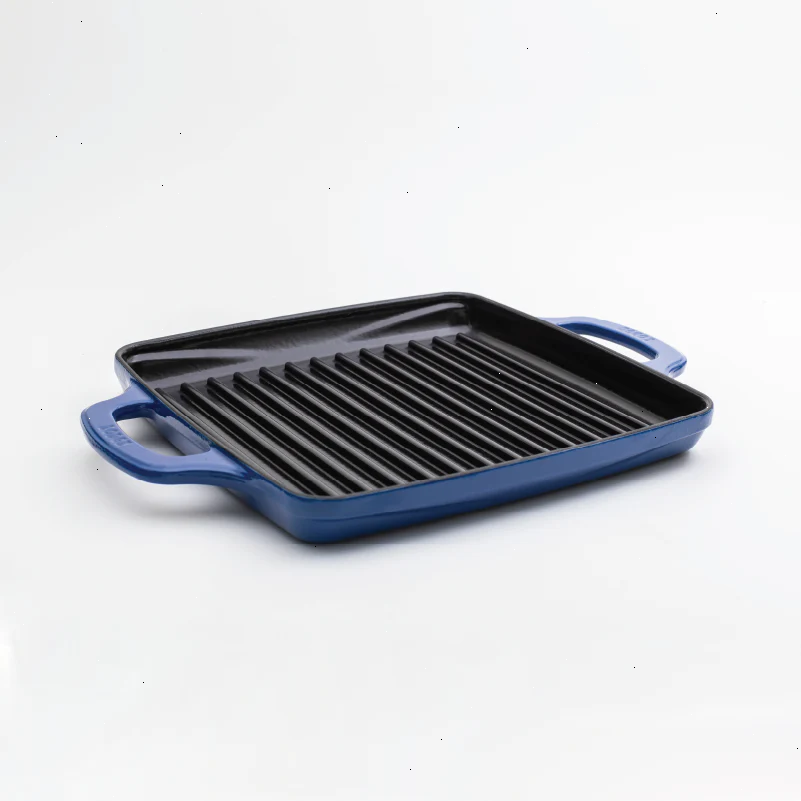
For outdoor cooking, seasoned griddles and grill pans benefit from frequent oiling to prevent rust. The Yellowstone™ 10.5 Inch Square Seasoned Cast Iron Cowboy Grill Pan is ideal for campfire cooking, but its seasoning should be maintained with regular oiling after each use.
Frequently Asked Questions About Seasoning
Q: Can I use olive oil to season? A: It’s not recommended because its low smoke point can lead to sticky seasoning. Stick to grapeseed, canola, or flaxseed.
Q: How often should I re-season? A: Only when the surface looks dull or food starts sticking. Most home cooks re-season once or twice a year.
Q: Is seasoning safe? A: Yes—polymerized oil is inert and food-safe. It’s the same chemistry used in commercial non-stick coatings.
Q: Can I season a rusty pan? A: Yes. Remove rust with steel wool, dry, and apply a fresh seasoning layer.
Final Thoughts: Mastering the Science for Better Cooking
Understanding the science of cast iron seasoning empowers you to maintain your cookware with confidence. By choosing the right oil, applying thin coats, and using proper heat, you can create a non-stick surface that rivals any modern pan. Seasoning is both an art and a science—and with practice, your cast iron will become a cherished heirloom.
Ready to start or improve your seasoning journey? Explore the Blacklock Lightweight Skillet—it’s pre-seasoned and ready for your first seasoning project. Whether you’re a beginner or a seasoned pro, this skillet offers the perfect foundation for building a lifetime of non-stick cooking.