How to Season Cast Iron Without Oven: Stovetop and Grill Methods That Work
By Lodgecastiron | Published: 2026-06-16
Category: How-to Guides
Learn two effective methods to season cast iron without an oven: stovetop and grill techniques. Perfect for campers, small kitchens, or when you need a quick fix.
Seasoning your cast iron cookware is essential for creating a durable, non-stick surface that prevents rust and improves with every use. While many guides recommend using an oven, you don't always have that option. Perhaps you're camping, your oven is broken, or you simply want a faster method. Fortunately, you can season cast iron without oven using a stovetop or a grill. In this guide, we'll walk through both techniques step by step, so your skillets, griddles, and Dutch ovens stay in top shape.
Why Season Cast Iron Without Oven?
Oven seasoning is the traditional go-to because it provides even, consistent heat. But stovetop and grill methods are excellent alternatives when you're short on time or space. Stovetop seasoning works well for smaller pans and skillets, especially if you have a gas burner. Grill seasoning is ideal for outdoor cooking enthusiasts or when you want to avoid indoor smoke. Both methods produce a durable, polymerized layer of oil that protects your cookware. Plus, they're faster—stovetop seasoning can take as little as 15 minutes, while grill seasoning is perfect for camping trips where you're already cooking over an open flame.
Method 1: Stovetop Seasoning Cast Iron
Stovetop seasoning is perfect for everyday maintenance or when you need a quick refresh. It's best for smaller pieces like skillets or griddles that fit comfortably on a burner. Here's how to do it:
What You'll Need
- Your cast iron pan (clean and dry)
- High smoke point oil (e.g., vegetable, canola, grapeseed, or flaxseed)
- Paper towels or a lint-free cloth
- Tongs (optional, for handling hot pan)
Step-by-Step Instructions
- Clean the pan thoroughly: Scrub with warm water and mild soap (yes, it's okay occasionally!) to remove any food residue or rust. Dry completely with a towel.
- Apply a thin layer of oil: Pour a small amount of oil onto the pan. Use a paper towel to spread it evenly across the entire surface—inside, outside, and handle. Then, try to wipe it off as if you made a mistake. The key is a microscopically thin layer; excess oil will become sticky.
- Heat on the stovetop: Place the pan on a burner over medium heat (about 350-400°F). Let it heat for 5-10 minutes. You'll see the oil start to smoke slightly—that's the polymerization process. If you see heavy smoke, reduce the heat slightly.
- Let it cool: Turn off the heat and let the pan cool naturally on the burner. Once it's cool enough to handle, repeat the oil-and-heat process 2-3 times for a stronger seasoning layer.
This method works wonderfully for skillets like the 10.25 Inch Seasoned Cast Iron American Flag Skillet, which already has a factory seasoning but benefits from regular stovetop touch-ups to maintain its patriotic sheen.
Tips for Success
- Use a gas stove if possible; electric coils can create hot spots. If using electric, move the pan around every few minutes.
- Don't rush—allow each layer to fully polymerize (stop smoking) before adding the next.
- For large pans, you may need to work in sections, tilting the pan to distribute heat.
Method 2: Grill Seasoning Cast Iron
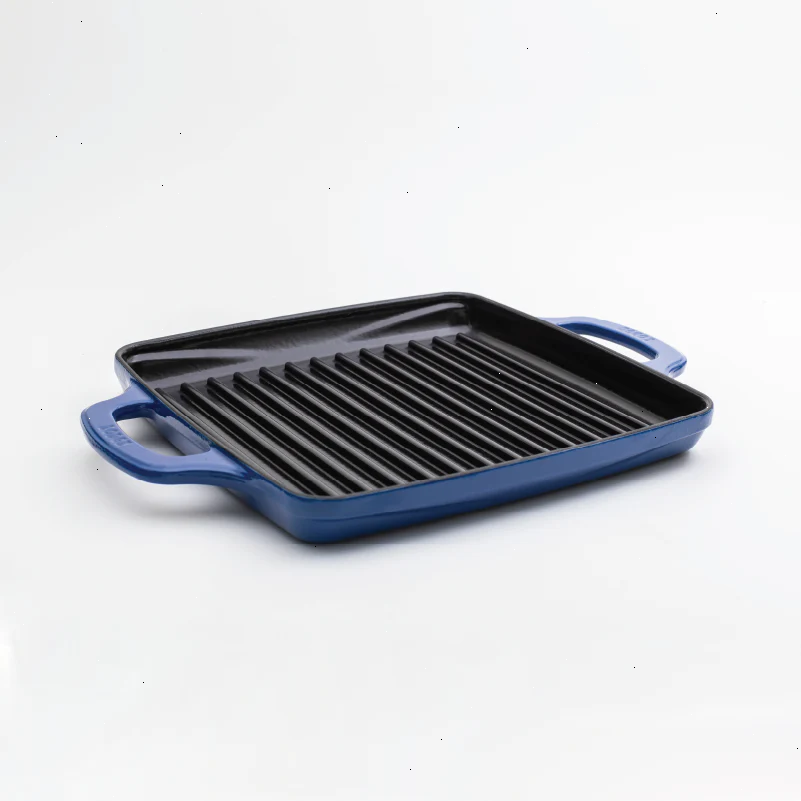
Grill seasoning is a fantastic option for outdoor cooks or when you want to season multiple pieces at once. It's also the preferred method for Seasoned Cast Iron Round Grill Press and other grilling accessories, as it mimics the high heat of a grill grate.
What You'll Need
- Your cast iron item (clean and dry)
- High smoke point oil
- Grill (gas or charcoal) with a lid
- Grill brush (optional, for cleaning grate)
- Aluminum foil (optional, to catch drips)
Step-by-Step Instructions
- Preheat your grill: Fire up your grill to medium-high heat (around 400°F). If using charcoal, wait until the coals are ash-covered and glowing.
- Clean the pan: Wash and dry your cast iron thoroughly. Remove any rust with steel wool if needed.
- Oil the pan: Apply a thin layer of oil just like the stovetop method—spread it on, then wipe it off.
- Place on the grill: Set the pan directly on the grill grate. Close the lid and let it heat for 10-15 minutes. You'll see light smoke—that's normal and good.
- Repeat: After the pan cools slightly, apply another thin layer of oil and return to the grill. Repeat 2-3 times for a robust seasoning.
Why Grill Seasoning Works
Grills provide high, consistent heat that's ideal for polymerization. They also allow you to season larger items like Dutch ovens or multiple pans at once. Plus, the outdoor setting means you don't have to worry about smoke filling your kitchen. It's perfect for camping trips where you're already using a campfire or portable grill.
Comparison: Stovetop vs. Grill Seasoning
| Aspect | Stovetop Seasoning | Grill Seasoning |
|---|---|---|
| Best for | Small to medium pans, quick fixes | Large items, multiple pieces, camping |
| Heat source | Gas or electric burner | Gas, charcoal, or campfire |
| Time required | 15-30 minutes per layer | 10-15 minutes per layer |
| Smoke level | Moderate (indoor) | Low (outdoor) |
| Evenness | May have hot spots | Very even (with lid closed) |
Common Mistakes and How to Avoid Them
Seasoning cast iron without oven can be tricky if you're not careful. Here are the most common pitfalls:
- Using too much oil: This leads to a sticky, gummy surface. Remember: apply oil, then wipe it off as if you didn't mean to put it on.
- Not heating enough: If the pan doesn't reach the oil's smoke point, the oil won't polymerize. Use a thermometer or look for light smoke.
- Heating too quickly: Rapid temperature changes can warp cast iron. Always heat gradually.
- Skipping the cleaning step: Any food residue or rust will become trapped under the new seasoning layer. Always start with a clean surface.
When to Use Each Method
Stovetop seasoning is ideal for a quick refresh on a busy weeknight—perfect for maintaining your everyday skillet. Grill seasoning shines during outdoor adventures. If you're heading out for a camping trip, you can season your Outdoor Carry-All Bag-stored cast iron right over the campfire before cooking a meal. Both methods are excellent for initial seasoning of new pans, though you might want to do 3-4 layers for a stronger base.
Frequently Asked Questions
Can I season cast iron without oven using a campfire?
Absolutely! A campfire works like a grill. Build a small fire, let it burn down to hot coals, and place your oiled pan on a grate over the coals. Keep it away from direct flames to avoid overheating. The 4 in 1 Camp Dutch Oven Tool is handy for moving hot pans safely.
How many layers of seasoning do I need?
For stovetop or grill seasoning, 2-3 layers are enough for a decent non-stick surface. If you're restoring an old pan, aim for 4-5 layers for maximum durability.
What oil is best for stovetop seasoning?
Oils with high smoke points work best: grapeseed, avocado, canola, or vegetable oil. Flaxseed oil produces a beautiful finish but can be brittle—mix it with another oil for the best of both worlds.
Final Thoughts
Learning how to season cast iron without oven opens up a world of flexibility. Whether you're using the stovetop for a quick fix or the grill for a camping feast, these methods keep your cookware performing at its best. Regular maintenance—seasoning after each use or at least once a month—extends the life of your cast iron and makes cooking a joy. Start with a clean pan, a thin layer of oil, and steady heat. In no time, you'll have a slick, non-stick surface that rivals any modern coating.
Ready to put your skills to the test? Check out the Seasoned Cast Iron Round Grill Press for perfect grill marks and even cooking on your freshly seasoned cast iron. Explore our full collection of cast iron accessories to complete your kitchen setup.