How to Restore a Rusty Cast Iron Skillet: A Complete Step-by-Step Guide
By Lodgecastiron | Published: 2026-06-16
Category: How-to Guides
Learn how to restore a rusty cast iron skillet at home with this complete step-by-step guide. From removing rust to reseasoning, revive your cookware today.
Finding a rusty cast iron skillet in an antique shop, inherited from a family member, or even rediscovered in the back of your own cabinet can feel like a treasure hunt. But before you can cook with it, you need to tackle the rust. The good news: restoring a rusty cast iron skillet is not only possible—it's incredibly rewarding. With the right tools, a bit of elbow grease, and the steps outlined here, you can bring that pan back to life and use it for decades to come.
This guide covers everything you need to know about how to restore a rusty cast iron skillet, including cleaning off rust, reseasoning, and long-term care. We'll also highlight a few essential products from Lodgecastiron that make the process easier and more effective.
Why Cast Iron Skillets Rust and How to Prevent It
Cast iron is naturally prone to rust because it's mostly iron—an element that oxidizes when exposed to moisture and oxygen. Rust forms when the seasoning (the layer of polymerized oil) wears off or was never applied, leaving the bare metal exposed. Common causes of rust include:
- Leaving a wet skillet to air-dry
- Storing cookware in a damp environment
- Washing with soap and scrubbing off seasoning
- Long-term storage without proper oiling
Once rust appears, it's not the end of the road. In fact, many seasoned cooks consider a rusty pan a blank canvas. With the right restoration method, you can strip it down and build a fresh, non-stick seasoning from scratch.
What You'll Need to Restore a Rusty Cast Iron Skillet
Before you start, gather these supplies. Most are household items, but a few specialized tools can speed up the job significantly.
| Tool/Supply | Purpose |
|---|---|
| Steel wool (fine or medium grade) | Scraping off loose rust and old seasoning |
| Dish soap and warm water | Cleaning the skillet before stripping |
| White vinegar | Dissolving rust (for heavy rust) |
| Baking soda | Neutralizing vinegar and mild abrasive |
| Paper towels or clean cloths | Drying and applying oil |
| Vegetable oil or flaxseed oil | Reseasoning the skillet |
| Oven (or stovetop) for baking | Polymerizing the oil layer |
Step 1: Assess the Rust Level
Not all rust is created equal. Light surface rust (orange powdery spots) is easier to remove than deep pitting or flaking rust. Gently rub the skillet with a dry paper towel. If the rust comes off easily, you're dealing with light rust. If the rust is thick, bumpy, or has created pits in the metal, you'll need a more aggressive approach.
For most skillets, a combination of scrubbing and a vinegar soak works perfectly.
Step 2: Remove Rust with Steel Wool and Vinegar
Start by scrubbing the skillet with steel wool and a little dish soap to remove any loose debris and old seasoning. Rinse thoroughly.
For moderate to heavy rust, fill a container large enough to submerge the skillet with equal parts white vinegar and water. Soak the pan for 30 minutes to 2 hours, checking every 30 minutes. Never soak for more than 2 hours, as vinegar can etch the iron. After soaking, scrub again with steel wool under running water. The rust should rinse away easily.
If you're working with a smaller skillet or a specialty piece like the Yellowstone™ 5 Inch Seasoned Cast Iron “Power Y” Mini Skillet, you can use a smaller bowl or a plastic tub for the vinegar bath. This mini skillet is perfect for single servings or as a gift, but like all cast iron, it can rust if not cared for properly.
Rinse the skillet with clean water and dry it immediately with a paper towel. You want to avoid flash rusting, so don't let water sit on the surface.
Step 3: Neutralize and Clean Again
After the vinegar soak, make a paste of baking soda and water. Rub it over the skillet with a paper towel to neutralize any residual acid. Rinse again with warm water and dry thoroughly. At this point, the skillet should look like bare gray iron. If you still see rust spots, repeat the vinegar soak for another 15–30 minutes.
Step 4: Apply the First Layer of Oil
Now comes the most critical part of any cast iron restoration: reseasoning. Preheat your oven to 350°F (175°C) or 400°F if using flaxseed oil. While the oven heats, apply a very thin layer of vegetable oil (or your preferred seasoning oil) to the entire skillet—inside, outside, handle, and bottom. Use a paper towel to wipe off as much oil as possible. The goal is a microscopically thin film; too much oil will pool and create sticky spots.
Place the skillet upside down on the middle oven rack, with a sheet of aluminum foil on the rack below to catch any drips. Bake for 1 hour, then turn off the oven and let the skillet cool inside. Repeat this process 3 to 5 times for a durable, non-stick seasoning.
If you're restoring multiple pieces at once, consider using a Skillet Display Stand to keep them organized during the process. It's a handy accessory for storing your newly restored pans safely.
Step 5: Cool and Test
After the final seasoning cycle, let the skillet cool completely. It should have a glossy, dark brown to black sheen. Test the surface by frying an egg with a little butter. If it slides easily, your restoration is a success. If it sticks, add another seasoning layer.
Remember, a newly seasoned skillet will improve with use. The more you cook with it—especially fatty foods like bacon or fried chicken—the better the seasoning becomes.
Common Mistakes to Avoid When Restoring Cast Iron
- Skipping the drying step: Even a little moisture can cause flash rust. Dry immediately and thoroughly.
- Using too much oil: Thick oil layers become sticky and uneven. Always wipe off excess.
- Baking at too high a temperature: Oils have smoke points. Stay between 350°F and 450°F depending on the oil.
- Not removing all rust: If you leave rust under the seasoning, it will continue to spread. Be thorough.
How to Maintain Your Restored Cast Iron Skillet
Once your skillet is restored, proper care will keep rust at bay. After each use, wash with hot water and a stiff brush—no soap needed if the seasoning is intact. Dry on the stovetop over low heat for a minute, then rub a tiny amount of oil onto the cooking surface. Store in a dry place.
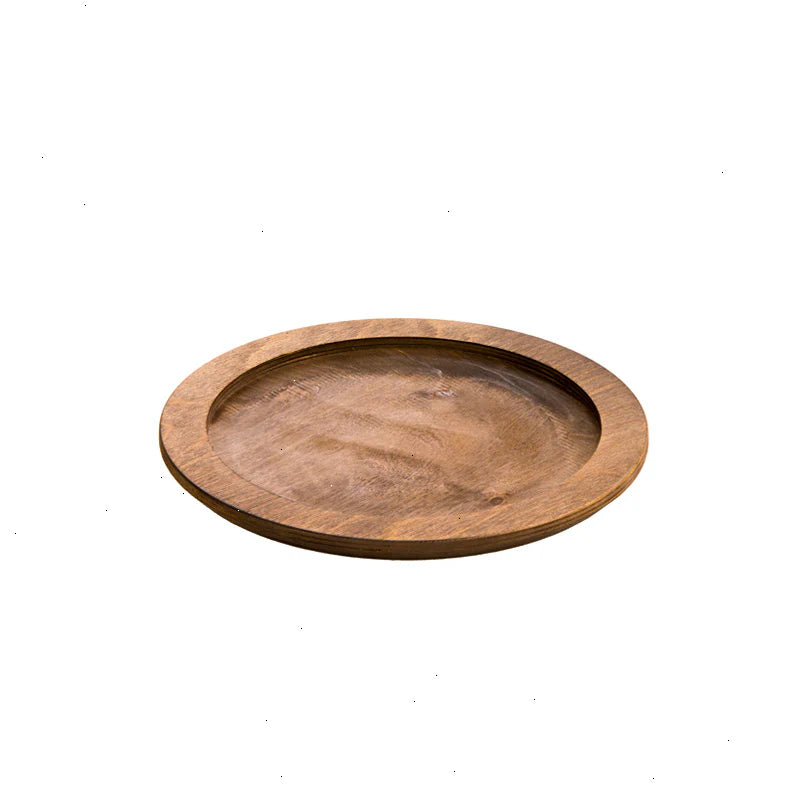
For long-term storage, you might want to invest in accessories that protect your cookware. A Grip Style Oval Wood Underliner is excellent for placing hot skillets on the table without damaging surfaces, and it also allows air circulation to prevent moisture buildup during storage.
When to Replace Instead of Restore
While most rusty cast iron can be saved, there are exceptions. If your skillet has deep cracks, holes, or severe pitting that compromises its structural integrity, it may be unsafe to use. Cast iron can also warp if it was overheated unevenly. In these cases, it's better to recycle the old pan and invest in a new one.
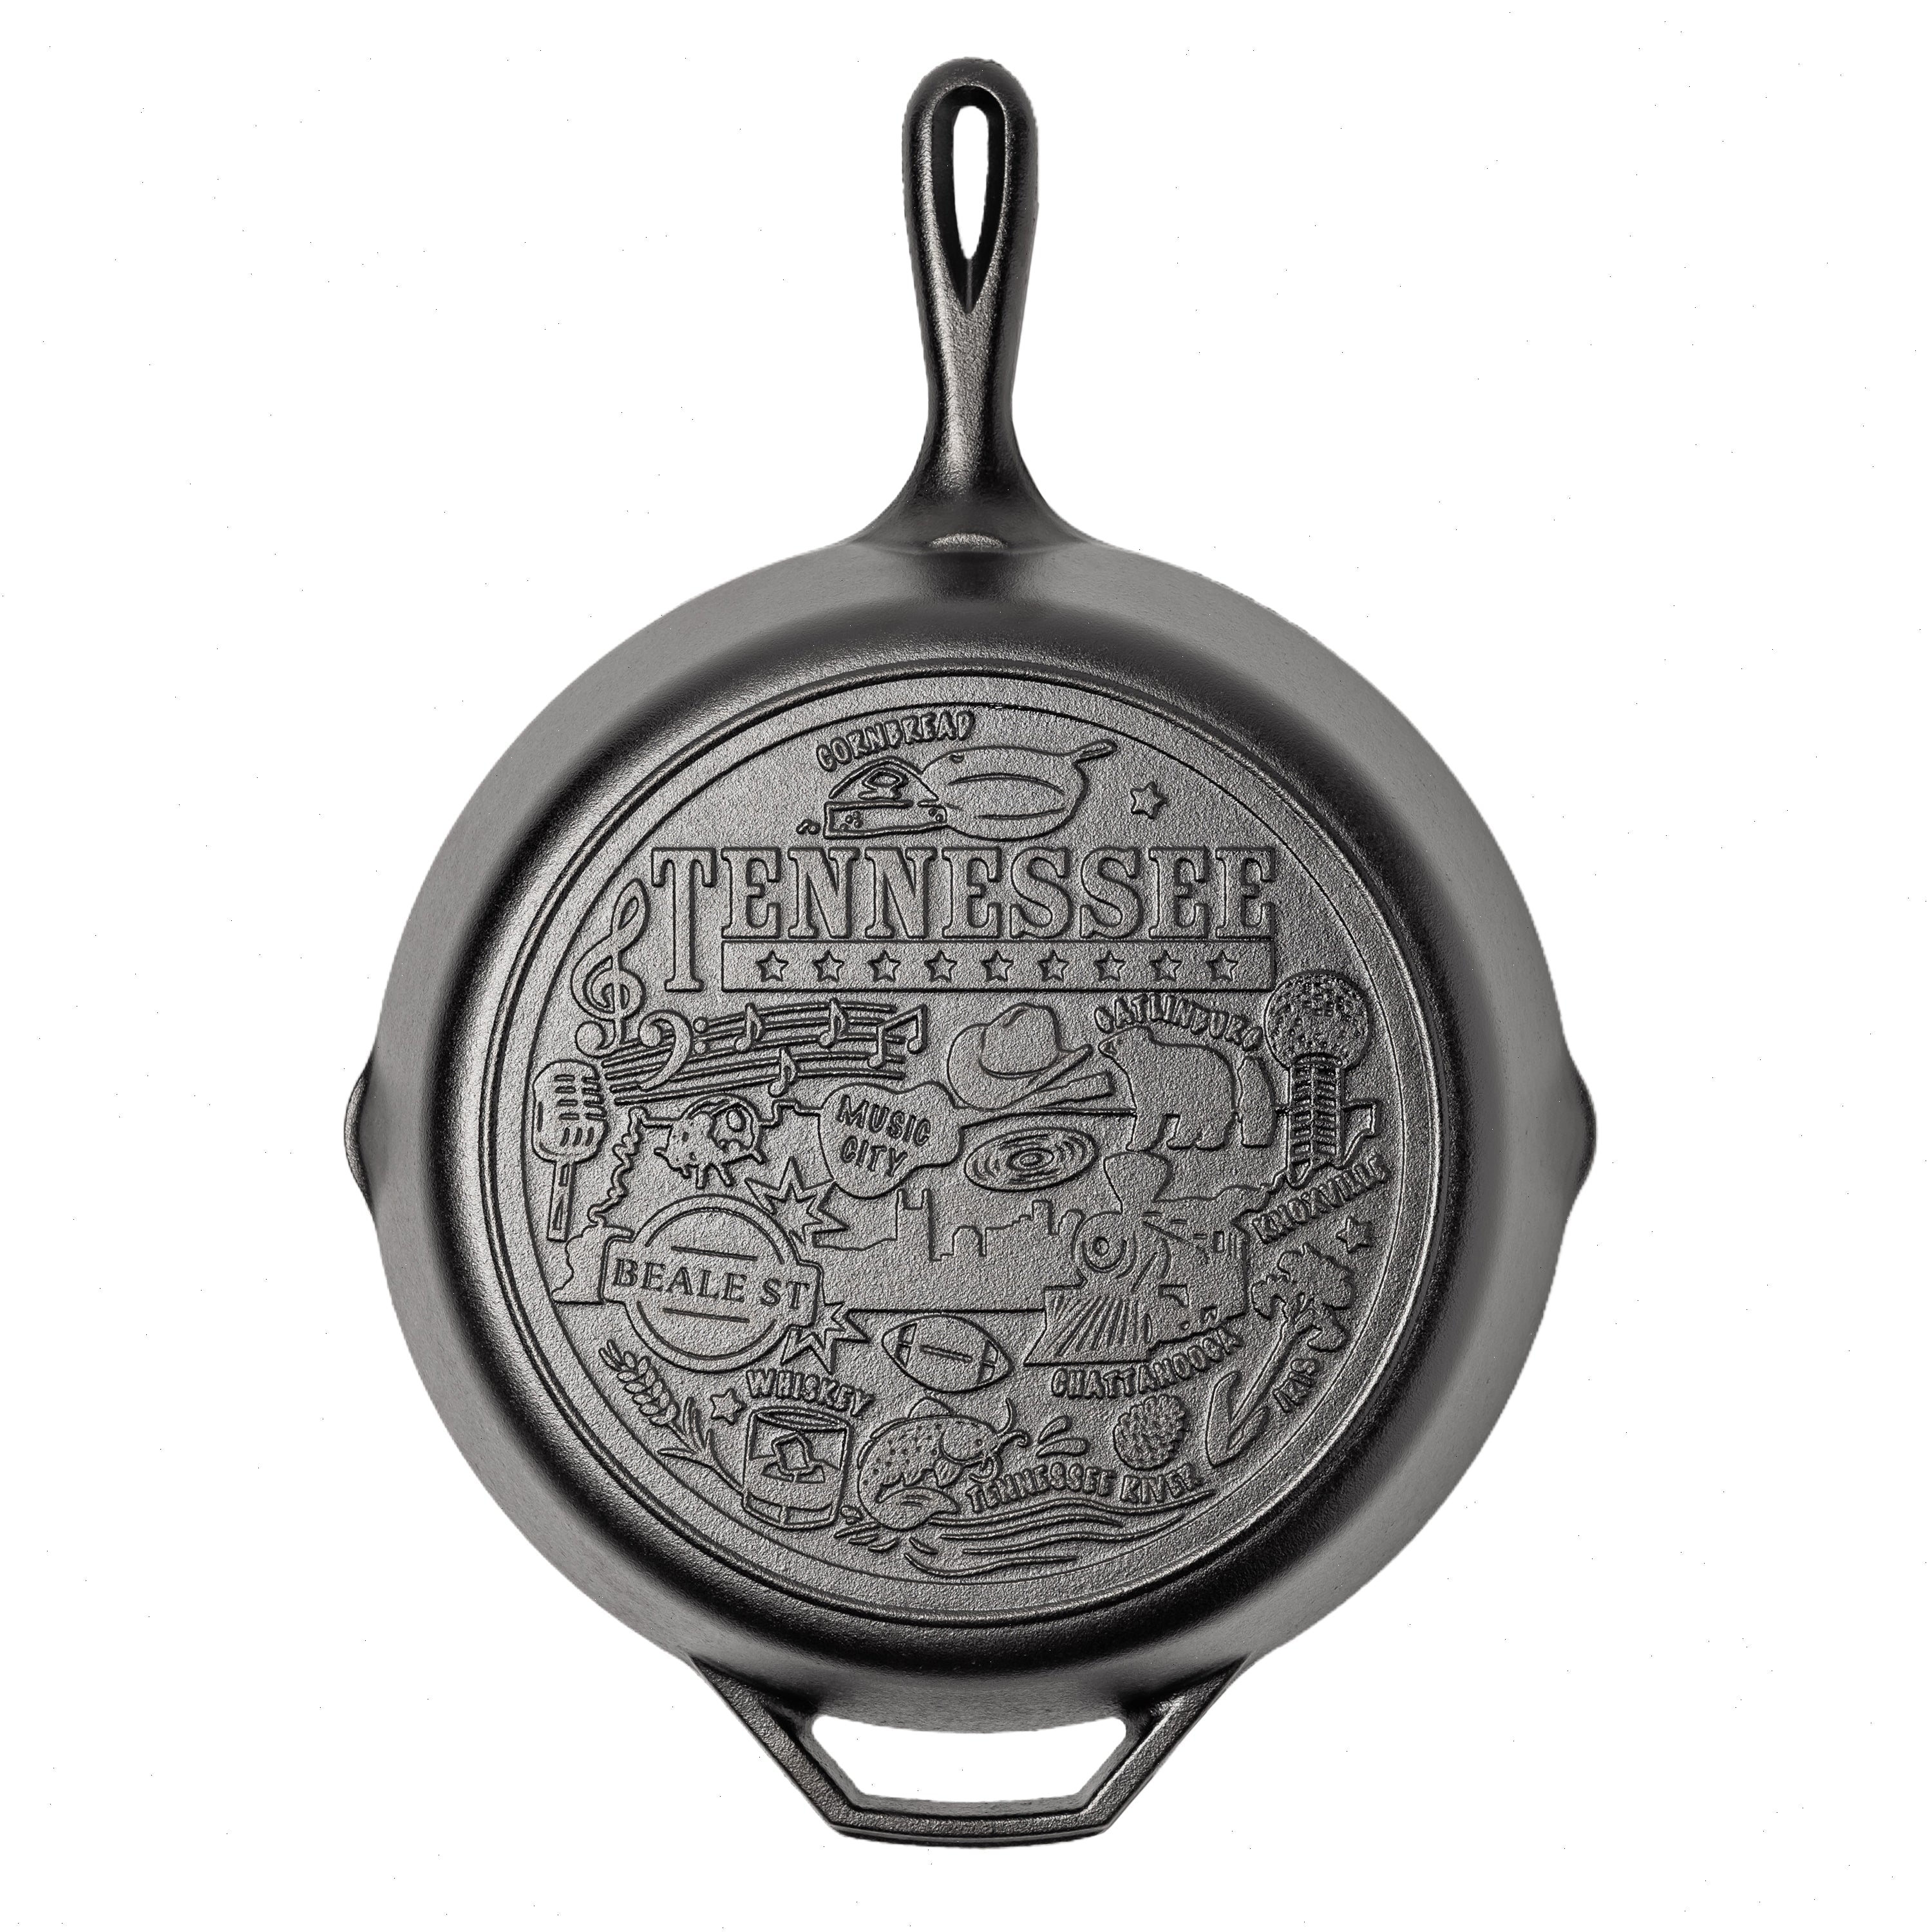
If you're looking for a high-quality replacement, consider the American Road Trip: 12 Inch Seasoned Cast Iron Skillet, Washington, D.C.—a beautifully pre-seasoned skillet that's ready to cook out of the box. It's durable, versatile, and perfect for everything from searing steaks to baking cornbread.
Final Thoughts: The Joy of Bringing Cast Iron Back to Life
Restoring a rusty cast iron skillet is a labor of love that connects you to generations of cooks who valued durability and simplicity. With the steps above, you can turn a neglected pan into a cherished kitchen tool. Whether you're saving a family heirloom or rescuing a flea market find, the process is both practical and satisfying.
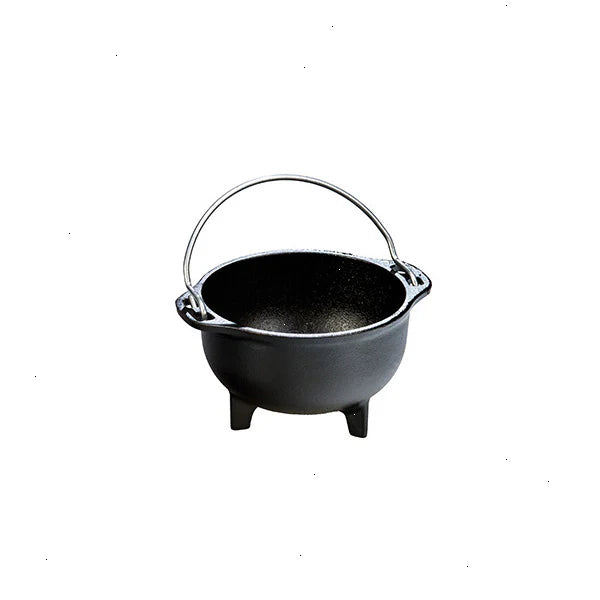
Ready to start your restoration? Explore Lodgecastiron's full range of Seasoned Cast Iron Melting Pot and other cast iron essentials to complement your newly restored skillet. Happy cooking!