The Ultimate Camping Dutch Oven Guide: Cooking Stews, Bread, and Desserts Over a Fire
By Lodgecastiron | Published: 2026-06-18
Category: Product Reviews
Master fire cooking with a cast iron camp oven. Discover tips for stews, bread, and desserts, plus top Lodge picks for your outdoor kitchen.
There is something deeply satisfying about gathering around a campfire and pulling a bubbling stew or a perfectly browned loaf of bread from a cast iron camp oven. The camping dutch oven is the ultimate tool for outdoor cooking, combining the heat retention of cast iron with the rugged durability needed for life over coals. Whether you are a weekend car camper or a seasoned backpacker, mastering the fire cooking dutch oven opens up a world of culinary possibilities beyond freeze-dried meals.
In this guide, we will walk you through everything you need to know to cook incredible stews, bread, and desserts over an open fire. We will cover essential techniques, temperature control, cleaning tips, and the best Lodge gear to make your outdoor meals unforgettable.
Why a Cast Iron Camp Oven Is Perfect for Camping
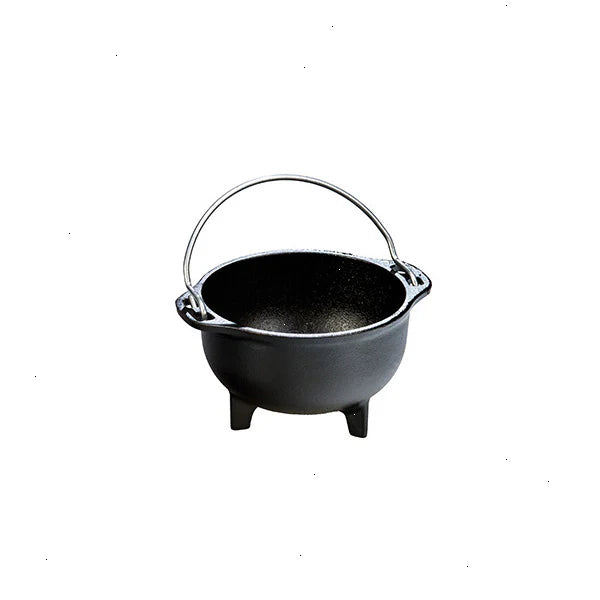
Cast iron is the undisputed king of campfire cooking. Its ability to absorb and radiate heat evenly makes it ideal for slow-simmered stews, baked bread, and even delicate desserts. A cast iron camp oven typically comes with a flat lid designed to hold hot coals, allowing you to create an oven-like environment anywhere you build a fire. Unlike lightweight aluminum cookware, a quality cast iron dutch oven will last for generations and only improves with use.
Key Features to Look For in a Camping Dutch Oven
- Material: Seasoned cast iron is preferred for campfire cooking because of its durability and natural nonstick surface. Enameled options are beautiful but can chip under extreme heat.
- Lid Design: A rimmed lid with a wire handle or loop allows you to pile coals on top for even baking. The depth of the rim helps keep ash off your food.
- Feet: Many camp dutch ovens come with three short legs that lift the pot above the coals, preventing scorching and allowing airflow for better temperature control.
- Size: A 5-quart model is the sweet spot for most campers—large enough for a family stew but not too heavy to carry from the car to the fire ring.
The 5 Quart Cast Iron Double Dutch Oven is an excellent choice because its lid doubles as a separate skillet, giving you two cooking surfaces in one piece of gear. This versatility is invaluable when you want to sear meat before slow-cooking or toast bread on the lid while the main pot simmers.
Fire Cooking Techniques: How to Control Temperature
Unlike your kitchen oven, a campfire does not have a thermostat. Learning to gauge and adjust your fire temperature is the secret to success. Here is a simple rule of thumb: the diameter of your dutch oven in inches roughly equals the number of briquettes you need for 350°F (175°C). For example, a 10-inch pot needs about 10 briquettes—placed in a ring under the pot and on the lid. Experiment from there depending on whether you want a hotter sear or a gentle simmer.
Arranging Coals for Even Heat
For most camping stews, you want a moderate, steady heat. Build a small campfire and let it burn down to a bed of glowing coals. Use a shovel to transfer coals under the pot and on top of the lid. A general ratio is 1/3 of the coals underneath and 2/3 on top for baking (like bread or desserts). For simmering soups, you may want more heat from below. Always rotate the pot and lid every 10–15 minutes to avoid hot spots.
Camping Stews: Hearty One-Pot Meals
Nothing warms you up after a day on the trail like a thick, savory stew cooked over the fire. The key is to brown your meat first—cast iron excels at this—then deglaze with broth or wine, add vegetables and aromatics, and let it simmer until everything is tender.
Classic Campfire Beef Stew Recipe
- Season 1.5 lbs of cubed beef chuck with salt and pepper.
- Heat your dutch oven over high coals and add a splash of oil. Sear the beef in batches until deeply browned. Remove and set aside.
- Add diced onions, carrots, and celery. Cook until softened, scraping up any browned bits from the bottom.
- Return the beef to the pot. Add 4 cups of beef broth, 2 bay leaves, and a sprig of thyme.
- Place the lid on, pile coals on top, and let it simmer for 1.5–2 hours. Add quartered potatoes and more carrots in the last 30 minutes.
- Check seasoning, remove bay leaves, and serve with crusty bread.
For a delicious variation, try a chili or a creamy chicken and mushroom stew. The Essential Enamel Dutch Oven is a wonderful option if you prefer a lighter weight and easier cleanup, though it is best used over a controlled camp stove rather than directly in coals to protect the enamel finish.
Baking Bread in a Camp Oven
Fresh bread over a campfire is one of the great joys of outdoor cooking. A camping dutch oven creates the steamy environment needed for a crispy crust and soft interior. No-knead bread recipes are especially forgiving for campers—just mix flour, water, yeast, and salt the night before, and bake the next day.
Tips for Perfect Campfire Bread
- Preheat your dutch oven with the lid on over a bed of coals for 10 minutes before adding the dough.
- Use parchment paper to lower the dough into the hot pot—no sticking, no mess.
- Pile coals generously on the lid (about 2/3 of your total coals) to create top heat for browning.
- Bake for 30–40 minutes, rotating the pot every 10 minutes. The bread is done when it sounds hollow when tapped.
A great recipe to start with is a classic white bread or a herb and cheese loaf. Once you master that, try adding nuts, dried fruit, or even chocolate chips for a sweet twist.
Desserts and Dutch Oven Cobblers
Desserts over a campfire are a showstopper. The most famous is the campfire cobbler—dump a can of pie filling into the hot dutch oven, top with cake mix or biscuit dough, and bake until golden and bubbly. It is ridiculously easy and always a hit.
Classic Campfire Cherry Cobbler
- Line your dutch oven with foil for easy cleanup.
- Pour in two cans of cherry pie filling (or any fruit you like).
- Sprinkle one box of yellow cake mix evenly over the fruit.
- Slice 1/2 cup of cold butter and place pats over the cake mix.
- Cover and bake with coals on top for 30–40 minutes, until the top is golden and the fruit is bubbling.
- Let cool slightly, then serve with a scoop of vanilla ice cream.
You can also bake brownies, apple crisp, or even a simple chocolate lava cake. The key is to keep the heat moderate and avoid burning the bottom—use fewer coals underneath and more on top for desserts.
Cleaning and Care for Your Camp Dutch Oven
Proper care ensures your cast iron camp oven stays rust-free and nonstick for years. After cooking, let the pot cool slightly. Remove any leftover food with a plastic scraper or a stiff brush—avoid soap if possible. Rinse with hot water and scrub with a non-abrasive pad. Dry thoroughly over the fire or on a camp stove, then apply a thin layer of cooking oil to the interior and lid. Store with the lid slightly ajar to allow air circulation.
One essential tool for campfire cooking is a reliable scraper. The Scraper Combo is perfect for removing stubborn bits without damaging the seasoning, and the chainmail component helps scrub away carbon deposits. This combo makes post-meal cleanup much faster, so you can spend more time enjoying the fire.
Essential Accessories for Fire Cooking
To get the most out of your fire cooking dutch oven, a few accessories go a long way:
- Lid Lifter: A dedicated tool to lift the hot lid without burning your hands.
- Coal Rake or Shovel: To safely move hot coals around your pot.
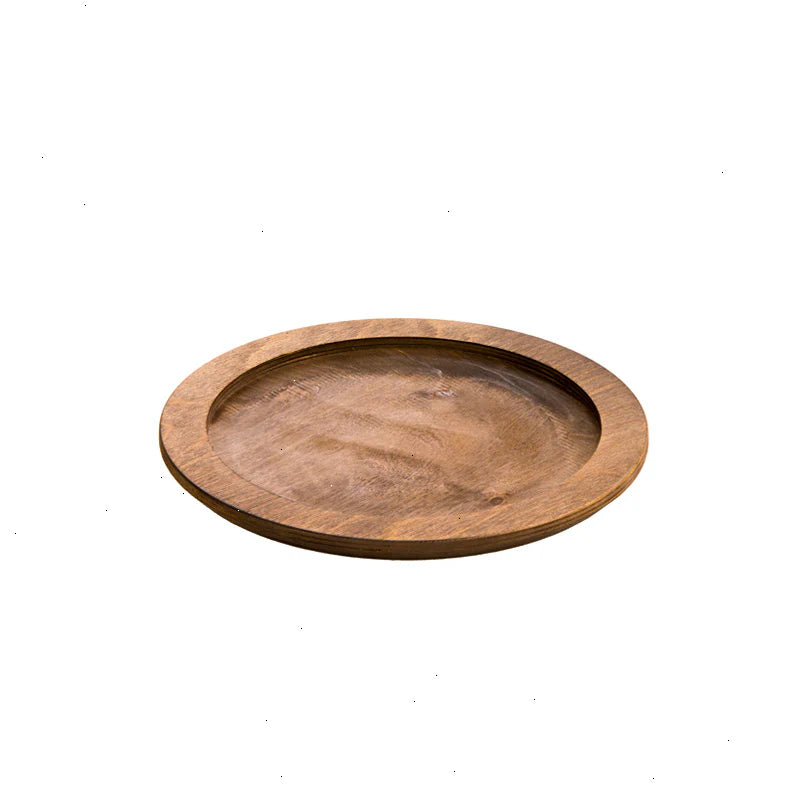
- Trivet: A silicone or wooden trivet protects surfaces when you pull the pot off the fire. The Deluxe Silicone Trivet is heat-resistant up to 450°F and folds flat for packing.
- Gloves: Heavy-duty heatproof gloves are a must for handling hot cast iron.
- Carry Bag: A padded bag protects your dutch oven during transport and keeps ash and soot off your other gear.
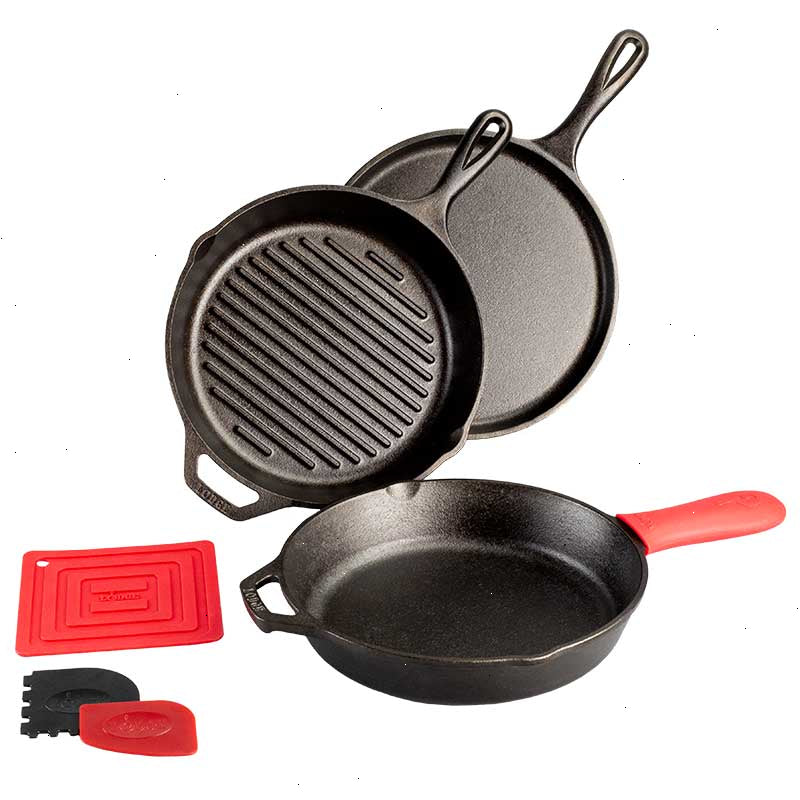
For those who love to grill over the fire as well, the Cast Iron Griddle pairs beautifully with your dutch oven. You can sear steaks or cook breakfast on the griddle while the stew simmers in the pot.
Conclusion: Elevate Your Camp Kitchen
Cooking with a camping dutch oven transforms your outdoor experience from simple survival to gourmet adventure. The ability to bake bread, simmer stews, and create decadent desserts over a fire is a skill that rewards patience and practice. With the right gear and a few tried-and-true techniques, you will be the hero of every campsite.
Ready to start your fire-cooking journey? Explore the 5 Quart Cast Iron Double Dutch Oven to see how this versatile piece of cookware can become the centerpiece of your outdoor kitchen. Happy camping and happy cooking!