How to Restore a Rusty Cast Iron Skillet: A Complete Step-by-Step Guide
By Lodgecastiron | Published: 2026-06-06
Category: How-to Guides
Learn how to restore a rusty cast iron skillet with this complete step-by-step guide. Remove rust, re-season, and bring your cast iron back to life for years of cooking.
Cast iron cookware is built to last a lifetime—and often several lifetimes. But even the most durable skillet can fall victim to rust if it’s left wet, stored in a damp environment, or neglected for a while. If you’ve discovered a rusty cast iron skillet in your kitchen, at a flea market, or inherited from a relative, don’t throw it away. Restoring it is not only possible, it’s surprisingly straightforward. In this guide, we’ll walk you through how to remove rust from cast iron, re-season the surface, and bring your skillet back to its former glory. Whether you’re working on a classic Lodge skillet or a vintage piece, these steps will help you fix rusty cast iron and get it back on the stove.
Why Cast Iron Rusts and Why You Shouldn’t Panic
Cast iron is primarily iron and carbon, and iron naturally oxidizes when exposed to moisture and oxygen. That orange-brown flaky layer is rust—iron oxide. While rust may look alarming, it’s actually just surface-level damage. Unlike other materials, cast iron can be fully restored even after significant rusting, as long as there are no cracks or deep pitting. The key is knowing the right restoration process. Many home cooks have successfully restored skillets that looked beyond repair, and with a little elbow grease and patience, you can too.
Tools and Materials You’ll Need for Cast Iron Restoration
Before you begin, gather the following supplies. Most are already in your kitchen or garage:
- Steel wool (fine and coarse grades) or a stainless steel scrubber
- Dish soap (mild, not harsh detergents)
- White vinegar (for heavy rust)
- Baking soda (optional, for stubborn spots)
- Paper towels or clean cloths
- Vegetable oil, flaxseed oil, or grapeseed oil (for seasoning)
- Oven (for heat-based seasoning)
- Gloves (to protect your hands from rust and vinegar)
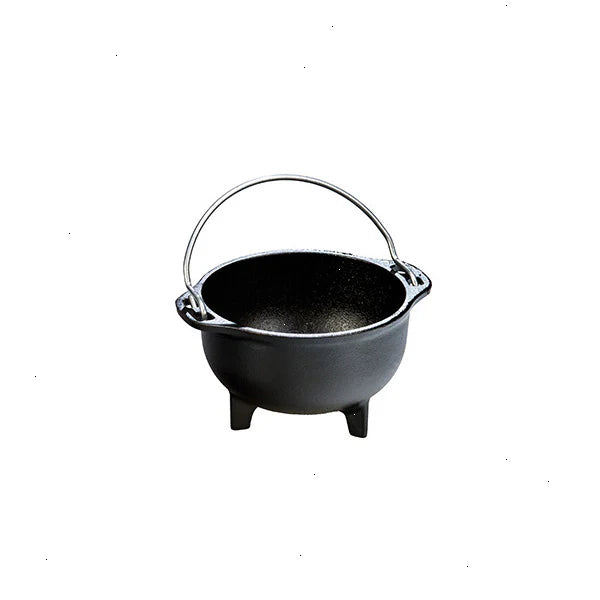
If you’re working on a skillet with extensive rust, a Cast Iron Trivet/Meat Rack can be helpful for drying the skillet upside down after cleaning, promoting even air circulation.
Step 1: Assess the Rust Level
Not all rust is created equal. Light surface rust (a thin orange film) is the easiest to fix. Moderate rust (flaky patches that come off when rubbed) requires a bit more effort. Heavy rust (thick, bumpy, or deeply pitted) may need soaking or scrubbing with a power tool, but it’s still restorable in most cases. Check for cracks or warping—if the skillet is cracked, it’s unsafe to use. If it’s just rusty, proceed with confidence.
Step 2: Scrub Off the Rust
Start by washing the skillet with warm water and mild dish soap to remove any grease or debris. Yes, soap is okay during restoration—this is the only time you’ll use it on cast iron. For light rust, use fine steel wool and scrub in a circular motion. Rinse and repeat until the rust is gone and the metal looks gray or silver. For heavier rust, create a 50/50 solution of white vinegar and water, and soak the skillet for 30 minutes to 1 hour. Vinegar dissolves rust chemically. After soaking, scrub with coarse steel wool. Rinse thoroughly and dry immediately with a towel. Do not let the skillet air-dry, as flash rust can form within minutes.
For stubborn spots, make a paste of baking soda and water, apply it, and scrub. Some restorers use a handheld drill with a wire brush attachment for heavy rust, but hand scrubbing works fine for most jobs.
Step 3: Prepare the Surface for Seasoning
Once the rust is removed, the skillet must be completely dry. Place it on a stovetop burner over low heat for a few minutes to evaporate any lingering moisture. At this point, you’ll notice the bare metal—it’s ready to accept a new seasoning layer. If you see any rust spots after drying, repeat the scrubbing step. The goal is a clean, rust-free surface.
Step 4: Apply a Thin Layer of Oil
Seasoning is the process of polymerizing oil onto cast iron, creating a non-stick, protective coating. Choose a high-smoke-point oil like flaxseed, grapeseed, or vegetable oil. Pour a small amount onto the skillet and use a paper towel to rub it over the entire surface—inside, outside, handle, and bottom. Then, with a clean paper towel, wipe away as much oil as possible. The skillet should look almost dry. Too much oil will lead to a sticky, uneven seasoning.
Step 5: Bake the Seasoning
Preheat your oven to 450°F (232°C). Place the skillet upside down on the middle rack, with a baking sheet or aluminum foil on the lower rack to catch any drips. Bake for 1 hour. After the hour, turn off the oven and let the skillet cool inside. This allows the oil to fully polymerize. For best results, repeat the oil-and-bake process 3 to 4 times. This builds a durable, black, non-stick seasoning layer that protects against future rust.
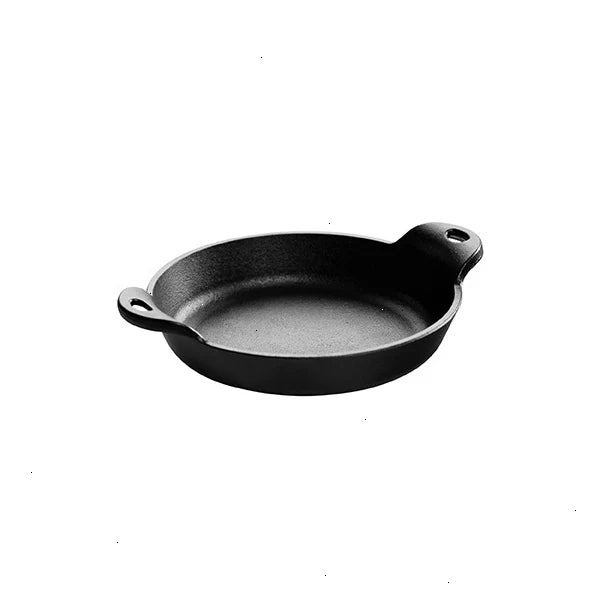
During the cooling phase, you can place the skillet on a Heat-Treated 12 Ounce Cast Iron Mini Serving Bowl or trivet to avoid direct contact with countertops—though the skillet will be very hot, so use caution.
Step 6: Test and Maintain Your Restored Skillet
Once the skillet is cool, it’s ready to use. Cook something with a bit of oil or fat first—like fried eggs or sautéed vegetables—to test the non-stick properties. If food sticks, you may need one more seasoning round. From now on, maintain your skillet by avoiding soap, drying it thoroughly after each wash, and applying a thin layer of oil before storing. Never let it soak in water. With proper care, your restored skillet will last for generations.
Common Mistakes to Avoid When Fixing Rusty Cast Iron
- Using abrasive cleaners like oven cleaner: These can damage the metal. Stick to steel wool and vinegar.
- Skipping the drying step: Moisture is the enemy. Always dry immediately after washing.
- Applying too much oil during seasoning: Less is more. Excess oil creates a sticky, uneven layer.
- Rushing the process: Restoration takes time. Multiple thin seasoning layers are better than one thick coat.
- Ignoring the handle and bottom: Rust can form anywhere. Season all surfaces evenly.
How to Prevent Rust in the Future
Prevention is easier than restoration. After each use, wash your skillet with hot water (no soap) and a stiff brush, dry it thoroughly on the stove, and rub a tiny amount of oil onto the cooking surface. Store it in a dry place. If you live in a humid climate, consider wrapping the skillet in a paper towel or storing it with a silica gel packet to absorb moisture. Regularly cooking fatty foods like bacon or steak also helps maintain the seasoning.
For grilling enthusiasts, a Cast Iron Griddle can be restored using the same methods—whether it’s for pancakes or searing burgers. The principles of rust removal and seasoning apply to all cast iron cookware.
Frequently Asked Questions About Cast Iron Restoration
Can I restore a cast iron skillet that has been rusted for years?
Yes, as long as there are no cracks or deep holes. Heavy rust may require more scrubbing or a vinegar soak, but the metal underneath is usually intact.
Is it safe to use a rusty cast iron skillet?
No. Rust can flake into your food and is not safe to consume. Always restore the skillet before cooking.
How do I know if my skillet is beyond repair?
If the skillet has a crack, large hole, or is warped (rocks on a flat surface), it’s unsafe and should be replaced. Otherwise, it’s restorable.
Can I use electrolysis to remove rust?
Yes, electrolysis is a highly effective method for removing rust from cast iron, but it requires specialized equipment and safety precautions. For most home cooks, the manual scrubbing and vinegar method works well.
Final Thoughts: Bring Your Cast Iron Back to Life
Restoring a rusty cast iron skillet is a rewarding project that connects you to the durability and heritage of cast iron cooking. Whether you rescued a vintage piece from a garage sale or want to revive an old family heirloom, the process is simple, effective, and doesn’t require expensive tools. With just a bit of scrubbing, oiling, and oven time, you can turn a rusty relic into a trusted kitchen companion. If you’re looking for a new skillet to start fresh, explore our collection of premium cast iron cookware. For a versatile piece that excels at everything from breakfast to dinner, check out the Cast Iron Griddle—it’s ready to use right out of the box and built to last a lifetime.