How to Grill Fish on a Cast Iron Grill Pan: Tips for Perfectly Cooked Fillets
By Lodgecastiron | Published: 2026-06-22
Category: How-to Guides
Master the art of grilling fish on a cast iron grill pan with expert tips on heat control, seasoning, and flipping for perfectly cooked, flaky fillets every time.
Grilling fish on a cast iron grill pan is one of the best ways to achieve that coveted smoky char and tender, flaky interior without firing up an outdoor grill. Whether you're cooking delicate tilapia, hearty salmon, or firm swordfish, a cast iron grill pan gives you superior heat retention and even cooking. In this guide, we'll walk you through essential fish grilling tips, from preheating and oiling to knowing exactly when to flip. You'll learn how to avoid sticking, control doneness, and get beautiful grill marks every time. And for the perfect finishing touch, we'll recommend some Lodge accessories that make the process even easier.
Why a Cast Iron Grill Pan Is Ideal for Fish
Cast iron is legendary for its heat retention and even distribution, which are critical when cooking delicate proteins like fish. A cast iron grill pan mimics the grates of an outdoor grill, creating raised ridges that sear the fish while allowing fat to drip away. The material also holds steady high heat, so the pan doesn't cool down when you add cold fillets—this is key for achieving a golden crust without overcooking the inside.
Another advantage is the natural non-stick surface that develops with proper seasoning. Seasoned cast iron becomes increasingly slick over time, reducing the risk of tearing fragile fish skin. For best results, choose a pan with a robust seasoning layer, like those from Lodge's Classic or Chef Collections. A versatile option is the 10.5 Inch Square Cast Iron Grill Pan, which offers ample cooking surface and deep ridges for excellent sear marks.
Preparing Your Cast Iron Grill Pan for Fish
Preheat Slowly and Thoroughly
One of the most important fish grilling tips is to preheat your pan properly. Place the grill pan over medium heat for 5–7 minutes. Cast iron takes time to heat evenly, so rushing this step can lead to hot spots that burn the fish. You'll know the pan is ready when a drop of water sizzles and evaporates almost immediately.
Oil the Pan, Not the Fish
To prevent sticking, lightly brush the pan's ridges with a high-smoke-point oil like avocado, grapeseed, or canola. Avoid olive oil, as it can smoke and burn. If you prefer, you can also oil the fish fillet itself, but oiling the pan ensures even coverage. Use a silicone brush or a paper towel held with tongs—just be careful not to disturb the seasoning.
Choosing the Right Fish and Preparing Fillets
Firm-fleshed fish like salmon, tuna, halibut, and swordfish are the easiest to grill on a cast iron grill pan because they hold their shape. Delicate fish like flounder or sole require extra care and a well-seasoned pan. Regardless of the type, pat the fillets dry with paper towels before cooking. Moisture is the enemy of a good sear—it creates steam that prevents browning.
Season simply with salt and pepper, or add a spice rub. Let the fish rest at room temperature for 10 minutes before cooking to promote even cooking. For thicker fillets (over 1 inch), consider scoring the skin to prevent curling.
How to Grill Fish on a Cast Iron Grill Pan: Step-by-Step
Step 1: Get the Pan Smoking Hot
Once preheated, increase the heat to medium-high. You want the pan hot enough that the fish sizzles immediately upon contact. A slight wisp of smoke means you're in the right zone.
Step 2: Place the Fish Skin-Side Down (If Skin-On)
For skin-on fillets, always start with the skin side down. Press gently with a spatula for a few seconds to ensure full contact with the ridges. This helps create even grill marks and prevents curling.
Step 3: Don't Touch It—Let It Sear
Resist the urge to move or flip the fish prematurely. Let it cook undisturbed for 4–6 minutes (depending on thickness). You'll see the edges turning opaque and the skin browning. The fish will release naturally from the pan when it's properly seared. If it sticks, it's not ready.
Step 4: Flip Carefully
Use a thin, flexible metal spatula to gently lift and flip the fillet. A good spatula is essential for this step. The Not Old School Well Seasoned Lodge Spatula is designed with a slim edge that slides easily under delicate fish, reducing the risk of breakage. Cook the second side for 2–4 minutes, depending on thickness.
Step 5: Check Doneness
The USDA recommends cooking fish to an internal temperature of 145°F. Use an instant-read thermometer for accuracy. Alternatively, test with a fork—the flesh should flake easily and appear opaque throughout.
Essential Accessories for Grilling Fish in Cast Iron
Beyond the pan itself, a few tools can elevate your fish-grilling game. A sturdy spatula is crucial, as mentioned above. You'll also want a reliable set of trivets or hot pads to protect your countertops—cast iron stays hot for a long time after cooking. For easy cleanup, consider a chainmail scrubber or a Lodge scraper designed for cast iron.
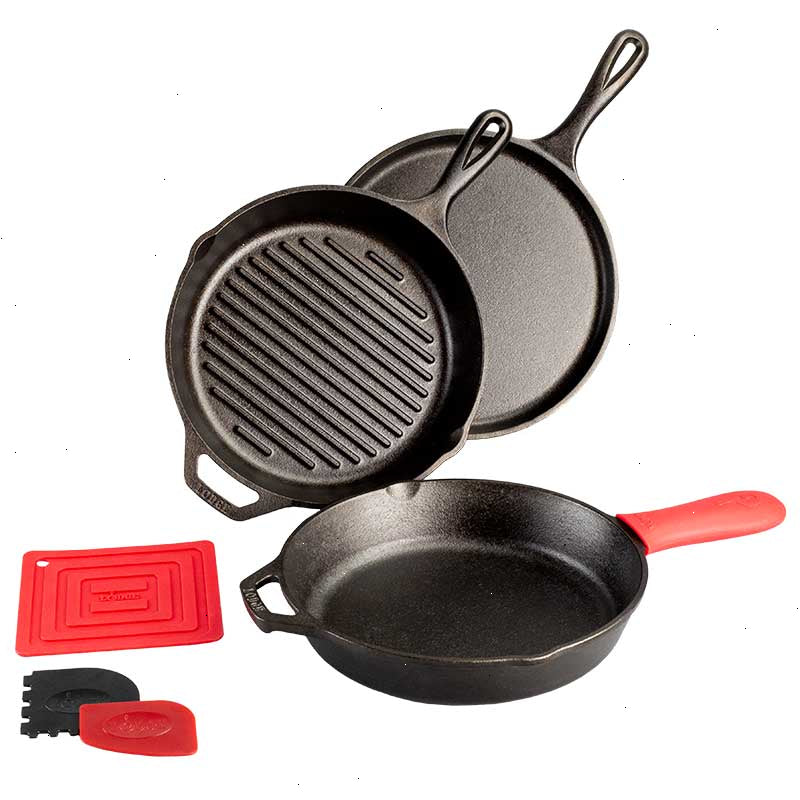
If you're looking to expand your cast iron collection, the Lodge Fan-Favorite Skillets Set with Handle Holder includes multiple sizes perfect for side dishes or sauces to accompany your grilled fish. The set also comes with a handy handle holder to prevent burns.
Common Mistakes to Avoid When Grilling Fish on Cast Iron
| Mistake | Why It Happens | Solution |
|---|---|---|
| Fish sticks to pan | Pan not hot enough or insufficient oil | Preheat longer and oil ridges thoroughly |
| Fish falls apart | Flipping too early or using thin spatula | Wait for sear to release; use a thin metal spatula |
| Uneven cooking | Fish not at room temp or pan not preheated evenly | Let fish rest 10 min; preheat pan 7 minutes |
| Burnt exterior, raw interior | Heat too high for thick fillets | Reduce heat after initial sear; cover loosely if needed |
Cleaning and Caring for Your Cast Iron Grill Pan After Fish
Fish can leave a lingering odor if not cleaned properly. After cooking, let the pan cool slightly, then rinse with hot water and scrub with a stiff brush or chainmail scrubber. Avoid soap if possible—it can strip seasoning. For stubborn bits, boil a little water in the pan to loosen residue. Dry thoroughly over low heat, then apply a thin layer of oil to protect the surface.
Regular seasoning maintenance will keep your grill pan performing at its best. If you notice rust or dull spots, simply re-season in the oven or on the stovetop with a high-smoke-point oil.
Recipe Idea: Lemon-Herb Salmon on a Cast Iron Grill Pan
Try this simple yet elegant recipe to put your cast iron fish grilling skills to the test:
- 2 salmon fillets (6 oz each), skin-on
- 1 tablespoon avocado oil
- Salt and black pepper to taste
- 1 teaspoon dried dill or fresh chopped dill
- Lemon wedges for serving
Pat salmon dry, season with salt, pepper, and dill. Preheat your grill pan over medium-high heat for 5 minutes. Brush pan ridges with oil. Place salmon skin-side down, press gently, and cook 5 minutes. Flip carefully and cook 3 minutes more. Squeeze lemon over the top and serve immediately.
Final Thoughts: Elevate Your Fish Grilling with Cast Iron
Grilling fish on a cast iron grill pan is a technique that rewards patience and practice. Once you master heat control and proper flipping, you'll enjoy restaurant-quality fish at home with minimal fuss. The key is to start with a well-seasoned pan, preheat thoroughly, and use the right tools to handle delicate fillets.
Ready to get started? Explore the 10.5 Inch Square Cast Iron Grill Pan and pair it with the Not Old School Well Seasoned Lodge Spatula for the ultimate fish-grilling setup. Happy cooking!