How to Deep Fry in a Cast Iron Dutch Oven: Safe Techniques and Oil Tips
By Lodgecastiron | Published: 2026-06-14
Category: How-to Guides
Learn safe techniques and best oil choices for deep frying in a cast iron Dutch oven. Get crispy, delicious results every time with expert tips.
Deep frying at home can seem intimidating, but using a cast iron Dutch oven makes it surprisingly straightforward and safe. Cast iron’s superior heat retention and even distribution create the perfect environment for achieving that golden, crispy crust without hot spots that cause burning. Whether you’re making classic fried chicken, donuts, or French fries, mastering the art of deep frying in a Cast Iron Dutch Ovens will elevate your home cooking. This guide covers safe techniques, the best oils, temperature control, and cleanup so you can fry with confidence.
Why Use a Cast Iron Dutch Oven for Deep Frying?
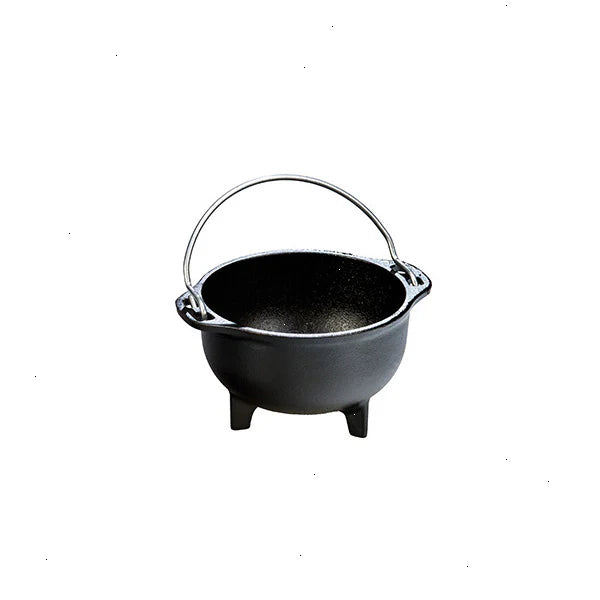
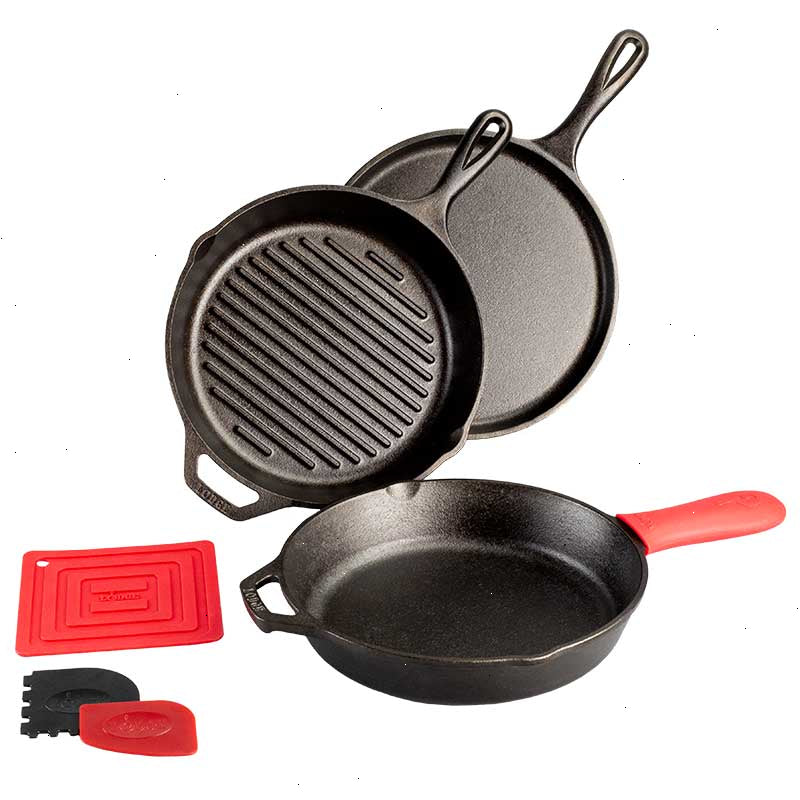
Dutch ovens, especially those made from seasoned cast iron, are ideal for deep frying. Their thick walls and heavy lid (when needed) stabilize oil temperature, preventing the drastic drops that occur with thinner pans. This means your food cooks faster and absorbs less oil, resulting in a lighter, less greasy final product. Additionally, the high sides of a Dutch oven minimize splatter and spills—a key safety advantage over open skillets. For example, using a American Road Trip: 12 Inch Seasoned Cast Iron Skillet, Pennsylvania is excellent for shallow frying, but for deep frying, the taller walls of a Dutch oven are essential.
Safety First: Essential Tips for Deep Frying in Cast Iron
Deep frying involves hot oil, so safety must be your top priority. Follow these guidelines to prevent accidents:
- Never overfill the pot: Fill the Dutch oven no more than halfway with oil. This leaves ample room for food displacement and prevents bubbling over. A good rule is 2–3 inches of oil depth.
- Use a thermometer: A clip-on deep-fry thermometer is non-negotiable. Cast iron retains heat, so it’s easy to overshoot your target temperature. Maintain oil between 350°F–375°F (175°C–190°C) for most foods.
- Keep a lid nearby: If oil catches fire, never use water. Smother the flames with a metal lid or baking soda. A lid that fits your Dutch oven is a must.
- Dry food thoroughly: Water and oil are explosive. Pat your food completely dry before lowering it into the oil. Even small droplets can cause dangerous splatters.
- Lower food gently: Use a slotted spoon or spider strainer to slowly lower food into the oil. Dropping it from height can cause oil to splash.
- Work in small batches: Crowding the pot drops the oil temperature drastically, leading to soggy food and longer cooking times. Fry in batches, allowing the oil to return to temperature between each.
Choosing the Right Oil for Cast Iron Deep Frying
Not all oils are created equal for deep frying. The key factor is smoke point—the temperature at which oil starts to break down and smoke. Oils with high smoke points (above 400°F) are best. Here are top choices:
| Oil | Smoke Point (°F) | Flavor Profile | Best For |
|---|---|---|---|
| Peanut Oil | 450°F | Neutral, slightly nutty | Fried chicken, French fries, tempura |
| Canola Oil | 400°F | Neutral | All-purpose frying, donuts, fish |
| Vegetable Oil (soybean) | 400°F | Neutral | General frying, onion rings, battered foods |
| Avocado Oil | 520°F | Neutral, buttery | High-heat frying, searing before frying |
| Sunflower Oil | 440°F | Mild, light | Light batters, vegetables, and delicate items |
For most home cooks, peanut oil or canola oil are excellent choices because they combine high smoke points with neutral flavors that won’t overpower your food. Avoid olive oil (extra virgin has a low smoke point) and butter, which burns quickly. If you’re using a seasoned cast iron Dutch oven, the oil will also help reinforce your seasoning, making your pot even better over time.
Step-by-Step: How to Deep Fry in a Cast Iron Dutch Oven
1. Prepare Your Workspace
Clear your stovetop of any flammable items. Have your thermometer, slotted spoon, paper towel-lined tray, and a heat-resistant mat ready. Make sure your Cast Iron Dutch Ovens is clean and dry. If it’s seasoned, a light wipe of cooking oil before adding your frying oil can help maintain the seasoning.
2. Add Oil and Heat Slowly
Pour your chosen oil into the Dutch oven, filling it to the recommended depth (2–3 inches). Place the pot on a burner over medium heat. Do not use high heat—cast iron takes time to heat up, but once hot, it stays hot. Clip your thermometer to the side and watch the temperature rise slowly. This gradual heating prevents hot spots and gives you control.
3. Prepare Your Food
While the oil heats, season or batter your food. For fried chicken, a buttermilk brine and seasoned flour work wonders. For donuts, ensure they are fully proofed and dry. Pat everything dry with paper towels to minimize moisture.
4. Test the Oil Temperature
Use a small scrap of bread or a drop of batter to test. If it sizzles immediately and browns in about 60 seconds, the oil is ready (around 350°F–365°F). If it burns instantly, the oil is too hot—remove the pot from the heat and let it cool slightly.
5. Fry in Small Batches
Gently lower 3–4 pieces of food into the oil using a spider strainer. Do not overcrowd. Maintain the oil temperature by adjusting the burner. If the temperature drops below 325°F, pause and let it recover before adding more food. Fry until golden brown, then transfer to the paper towel-lined tray to drain.
6. Monitor and Adjust
Between batches, skim out any loose bits of batter or food debris with a fine-mesh strainer. These can burn and impart a bitter flavor. Allow the oil to return to the target temperature before continuing.
7. Cool and Strain Oil
Once you’re done frying, turn off the heat and let the oil cool completely (this can take several hours). For easy cleanup, strain the oil through a fine-mesh sieve or cheesecloth into a glass jar or container. You can reuse the oil 2–3 times if stored in a cool, dark place. Discard it when it becomes dark, smells rancid, or smokes at lower temperatures.
Cleaning Your Cast Iron Dutch Oven After Deep Frying
After frying, cleaning your Dutch oven is straightforward. Pour out the cooled oil (reserve if reusable), then wipe out the interior with a paper towel to remove excess oil and food particles. Use a small amount of warm water and a stiff brush to scrub away any residue. Avoid soap if you have a seasoned pot—it can strip the seasoning. Dry immediately over low heat to prevent rust. If you have an enameled cast iron Dutch oven, you can use mild soap and water, and for stubborn stains, use a specialized cleaner like Enameled Cast Iron Cleaner to restore its shine without damaging the enamel.
Common Mistakes to Avoid
- Using too much or too little oil: Stick to the half-full rule. Too little oil and food will stick; too much increases spill risk.
- Frying cold food: Let refrigerated foods sit at room temperature for 15–20 minutes before frying. This helps maintain oil temperature.
- Ignoring the thermometer: Relying on guesswork leads to undercooked or burnt results. Always use a thermometer.
- Not drying the pot after cleaning: Moisture on cast iron causes rust. Always dry thoroughly and rub a thin layer of oil on the surface.
Delicious Recipes to Try in Your Dutch Oven
Once you’re comfortable with deep frying, try these crowd-pleasers:
- Classic Fried Chicken: Soak chicken pieces in buttermilk, then dredge in seasoned flour. Fry at 350°F for 12–15 minutes until internal temperature reaches 165°F.
- Homemade Donuts: Use a simple yeast dough, shape into rings, and fry at 375°F for 1–2 minutes per side. Coat in cinnamon sugar.
- Crispy French Fries: Soak cut potatoes in cold water for 30 minutes, dry thoroughly, and fry at 325°F for 4 minutes. Remove, let rest, then fry again at 375°F until golden.
- Jalapeño Poppers: Stuff halved jalapeños with cream cheese and cheddar, coat in breadcrumbs, and fry at 350°F for 3–4 minutes.
Final Thoughts: Mastering Deep Frying with Cast Iron
Deep frying in a cast iron Dutch oven is a skill that rewards you with restaurant-quality results at home. The key takeaways are: choose the right oil with a high smoke point, never overfill the pot, use a thermometer religiously, and keep your equipment clean and dry. With a little practice, you’ll be able to create crispy, delicious fried foods that impress family and friends. Plus, your Dutch oven will only get better with each use, developing a naturally non-stick surface from the frying oil.
To get started, explore our collection of Cast Iron Dutch Ovens—they’re the perfect vessel for deep frying and so much more. Whether you’re a beginner or a seasoned pro, a well-seasoned Dutch oven is a game-changer in your kitchen.