How to Cook a Perfect Roast Chicken in a Cast Iron Roasting Pan
By Lodgecastiron | Published: 2026-06-30
Category: How-to Guides
Learn the secrets to a juicy, golden roast chicken using a cast iron roasting pan. Step-by-step tips on seasoning, trussing, and achieving crispy skin every time.
There's nothing quite like a perfectly roasted chicken: golden, crispy skin, tender and juicy meat, and a rich, savory aroma that fills the entire house. While many home cooks rely on traditional metal roasting pans, using a cast iron roasting pan takes your chicken from good to unforgettable. Cast iron’s superior heat retention and even distribution create a consistent cooking environment that yields a beautifully browned bird with moist, flavorful meat. In this guide, we’ll walk you through every step—from selecting the right pan to carving—so you can master this classic dish.
Why Choose Cast Iron for Roast Chicken?
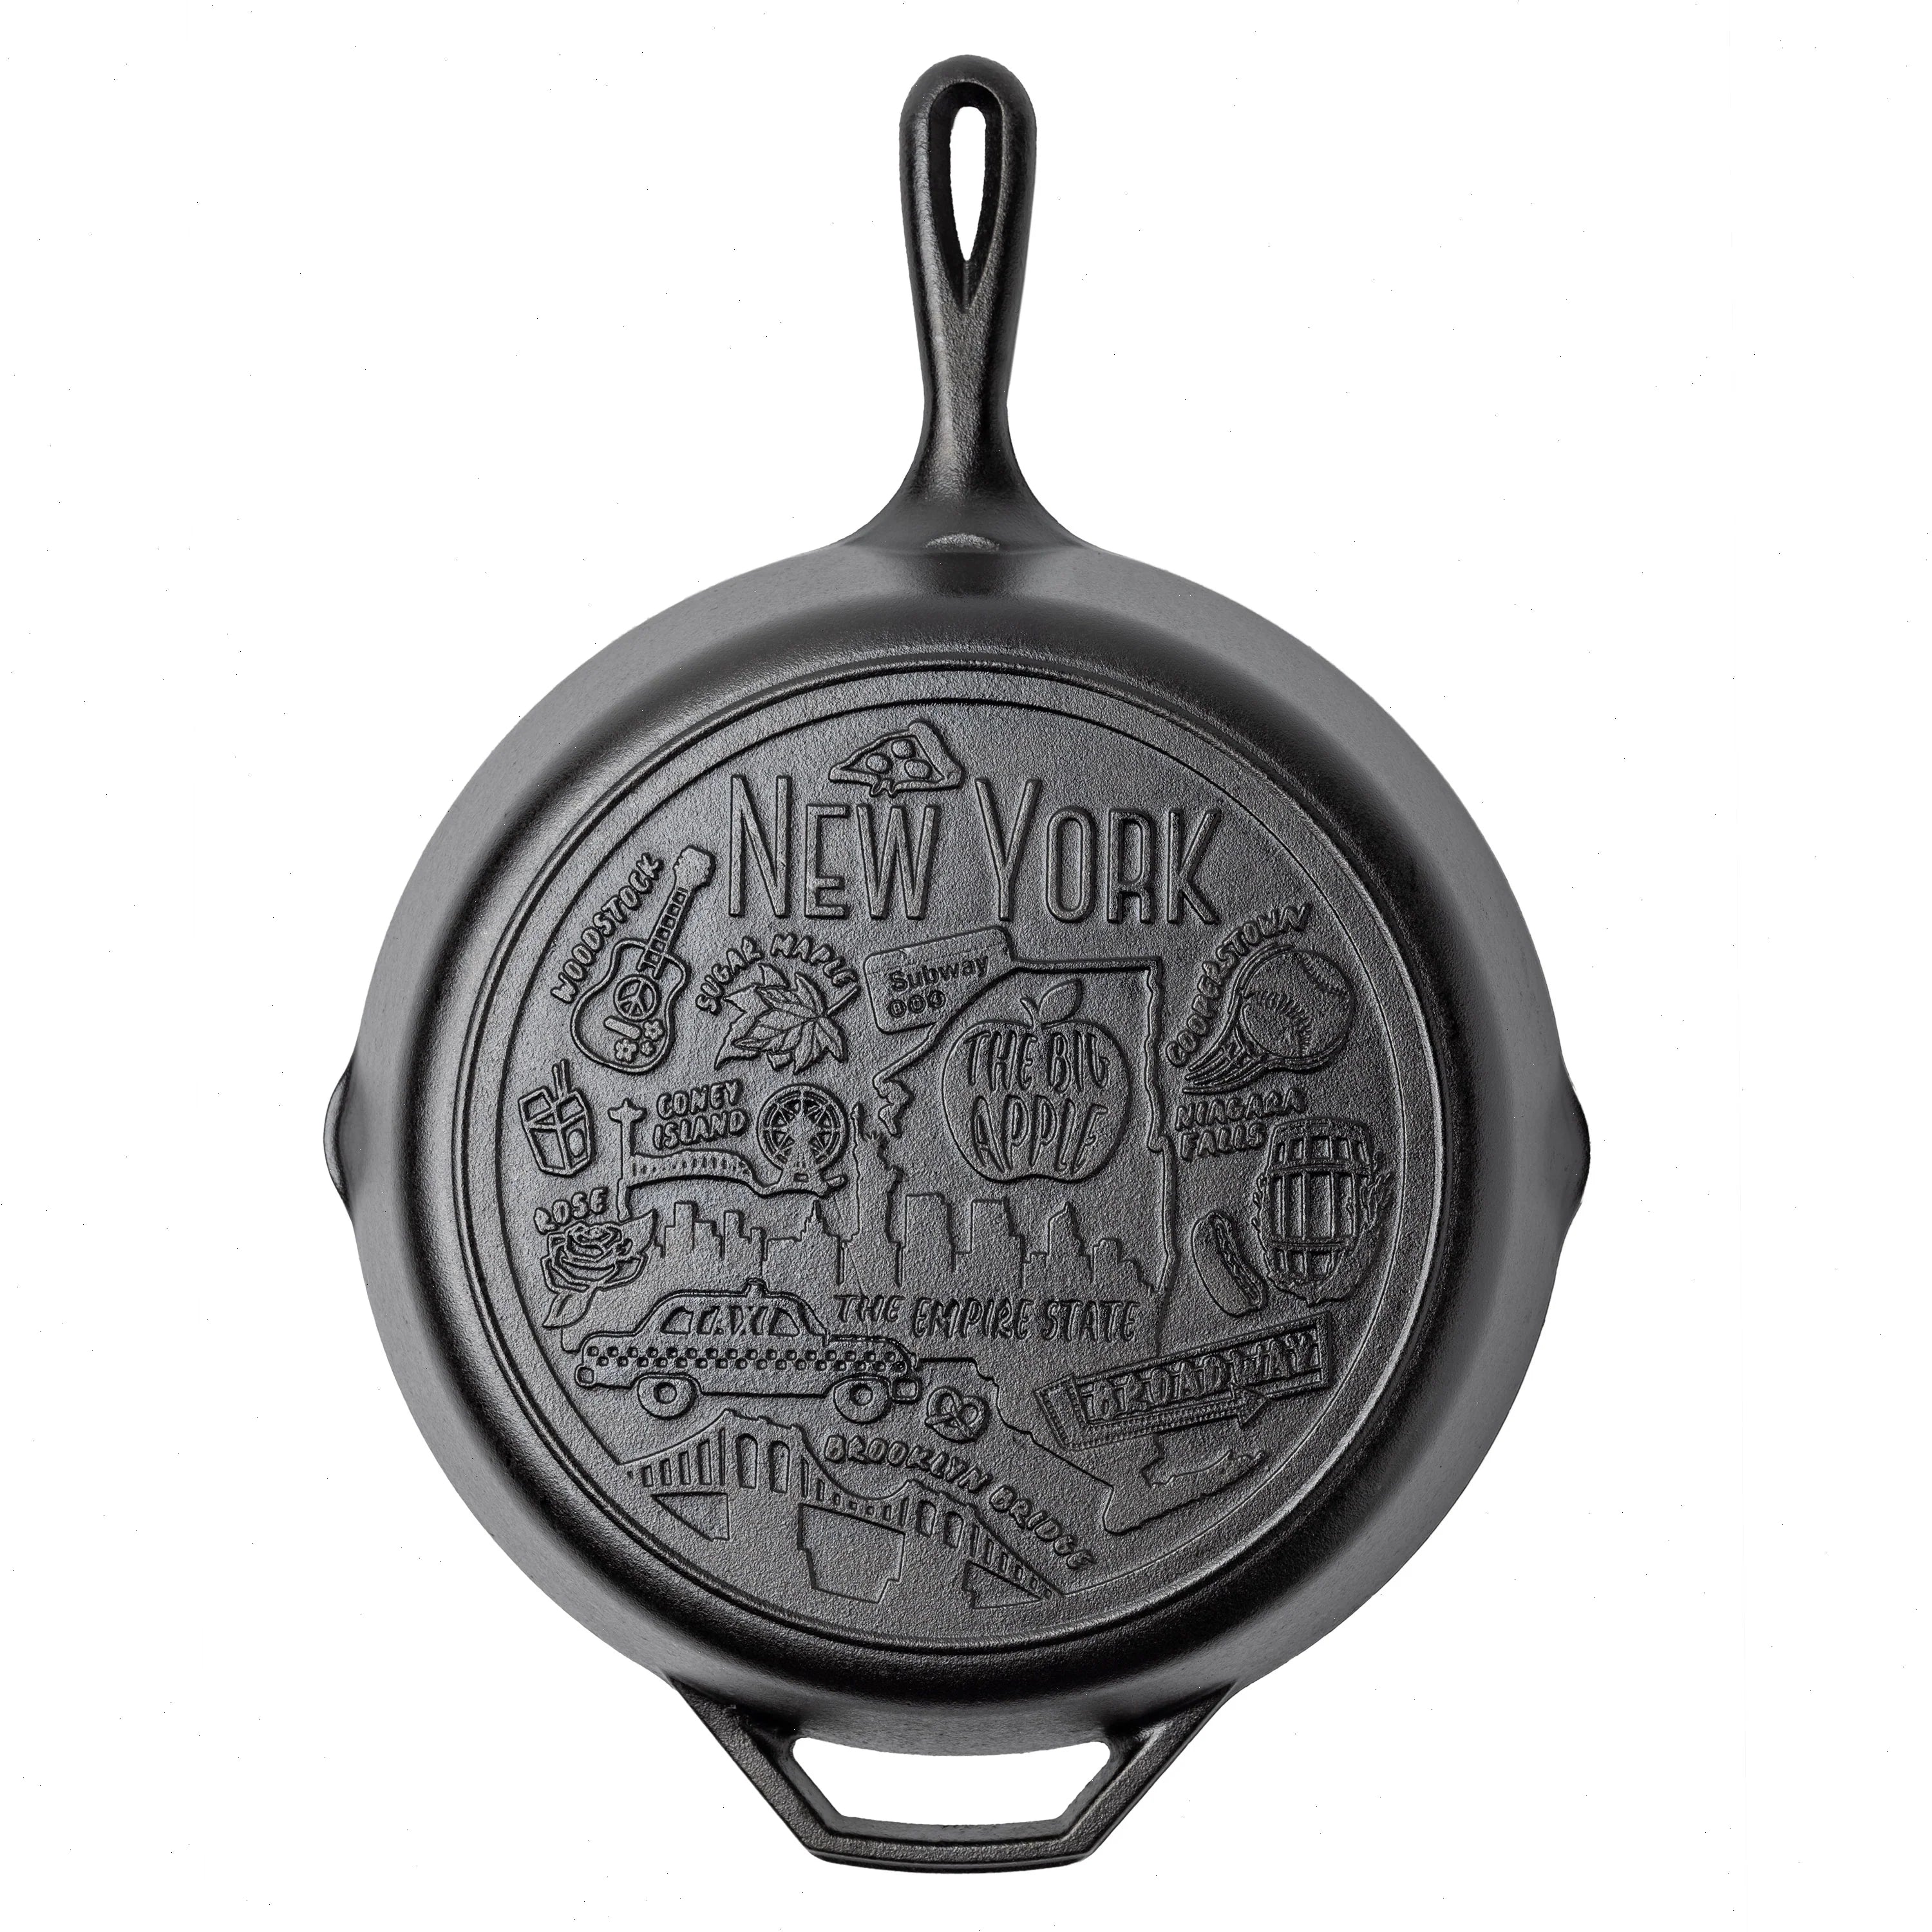
Cast iron is a powerhouse in the kitchen, and it’s especially suited for roasting. Unlike thin aluminum or stainless steel pans, cast iron heats evenly and holds that heat steady, even when you open the oven door. This means your chicken cooks uniformly, with no cold spots. The heavy pan also promotes excellent browning—the Maillard reaction—which gives the skin that irresistible golden color and deep flavor. Plus, a well-seasoned cast iron pan develops a natural non-stick surface, making cleanup a breeze. For this recipe, we recommend using a pan like the American Road Trip: 12 Inch Seasoned Cast Iron Skillet, New York if you’re cooking a smaller bird, or a larger roasting pan for a bigger chicken.

Selecting Your Chicken and Roasting Pan
Start with a good-quality chicken—ideally 4 to 5 pounds, which serves 4 to 6 people. Look for a bird that’s fresh or fully thawed if frozen. For your pan, choose a cast iron roaster that’s large enough to hold the chicken with at least 2 inches of space around it. A pan that’s too small will crowd the bird and prevent even browning. The Lodge 10.25 Inch Seasoned Cast Iron Skillet, USA Icons is a perfect size for a 4-pound chicken, offering ample room for vegetables around the bird.
Ingredients for the Perfect Roast Chicken
- 1 whole chicken (4–5 pounds), giblets removed
- 2 tablespoons unsalted butter, softened
- 1 tablespoon olive oil
- 1 teaspoon kosher salt
- 1/2 teaspoon black pepper
- 1 teaspoon dried thyme (or 1 tablespoon fresh)
- 1 lemon, halved
- 4 cloves garlic, smashed
- 1 onion, quartered
- 2 carrots, cut into chunks
- 2 celery stalks, cut into chunks
- 1 cup chicken broth (optional for deglazing)
Step-by-Step Cooking Instructions
1. Preheat Your Cast Iron Pan and Oven
Place your cast iron roasting pan in the oven and preheat to 425°F (218°C). This step is crucial: a hot pan ensures the chicken’s skin sears immediately, locking in juices. While the oven heats, prepare your chicken.
2. Prep the Chicken
Pat the chicken dry with paper towels—moisture is the enemy of crispy skin. Season the cavity generously with salt and pepper. Stuff it with the lemon halves, smashed garlic, and a few onion quarters. This infuses the meat with aromatics from the inside. Rub the softened butter all over the skin, then drizzle with olive oil. Season the outside with salt, pepper, and thyme. For extra flavor, gently lift the skin over the breast and rub some butter underneath.
3. Truss the Bird (Optional but Helpful)
Trussing helps the chicken cook evenly and keeps the legs from drying out. Use kitchen twine to tie the legs together and tuck the wing tips under the body. This creates a compact shape that roasts beautifully.
4. Arrange Vegetables and Place Chicken
Carefully remove the hot pan from the oven (use oven mitts!). Arrange the carrot and celery chunks in the center, creating a rack-like bed. Place the chicken on top, breast side up. The vegetables lift the bird off the pan bottom, allowing hot air to circulate and crisp the underside.
5. Roast to Perfection
Return the pan to the oven and roast for 45 minutes. Do not open the door during this time. After 45 minutes, reduce the temperature to 375°F (190°C). Continue roasting until the internal temperature in the thickest part of the thigh reaches 165°F (74°C)—about 15–20 more minutes per pound. For a 4-pound chicken, total time is roughly 60–75 minutes. If the skin is browning too fast, tent loosely with foil.
6. Rest and Carve
Once done, transfer the chicken to a cutting board and let it rest for 15 minutes. This redistributes juices. Meanwhile, place the cast iron pan on the stovetop over medium heat. Add chicken broth and scrape up the browned bits for a simple pan sauce. Carve the chicken and serve with the roasted vegetables and sauce.
Pro Tips for Crispy Skin and Juicy Meat
- Dry the skin thoroughly: Pat it dry and even let it air-dry in the fridge uncovered for an hour before cooking.
- Don’t skip the butter: It helps the skin brown and adds richness.
- Use a thermometer: Rely on temperature, not time, for foolproof results.
- Let the pan preheat: A hot pan is key to searing the skin on contact.
Variations to Try
Once you master the basic recipe, experiment with flavors. Add fresh herbs like rosemary or sage under the skin. Rub with smoked paprika for a smoky crust. For a citrusy twist, swap lemon for orange slices. You can even prepare a stuffing—just ensure it reaches 165°F internally. The cast iron pan’s heat retention also makes it ideal for roasting root vegetables alongside the chicken, absorbing all those savory juices.
Cleaning Your Cast Iron Roasting Pan
After the meal, let the pan cool slightly. Scrape out any stuck bits with a stiff brush or chainmail scrubber under hot running water. Avoid soap—the high heat of roasting will have sterilized it. Dry thoroughly and rub a thin layer of vegetable oil over the surface to maintain the seasoning. Never put a hot pan under cold water, as it can warp or crack.
Why This Method Works
Cast iron excels at roasting because it turns your oven into a mini brick oven. The heavy pan radiates heat from all sides, cooking the chicken evenly from the bottom up. The initial high heat sears the skin, while the later lower temperature gently finishes cooking the meat without drying it out. The result is a bird that’s crisp outside, tender inside, and infused with the flavors of the aromatic vegetables and herbs.
Whether you’re a seasoned cook or a beginner, this method will elevate your roast chicken game. The versatility of cast iron means you can also use the pan for braising, baking, or even serving at the table. For a truly memorable meal, pair your roast chicken with a simple salad or crusty bread, and enjoy the compliments.
Ready to try it yourself? Explore the American Road Trip: 12 Inch Seasoned Cast Iron Skillet, New York for a perfect pan that’s as beautiful as it is functional. Happy cooking!